Collaborators
Collaborators let you add team members to your account with different permission levels
Each collaborator gets their own login and can only see and do what you allow them to. Collaborators are managed in Settings under Collaborator Settings.
Only the owner of the account can manage collaborators. Everyone else will see “Access Restricted”.
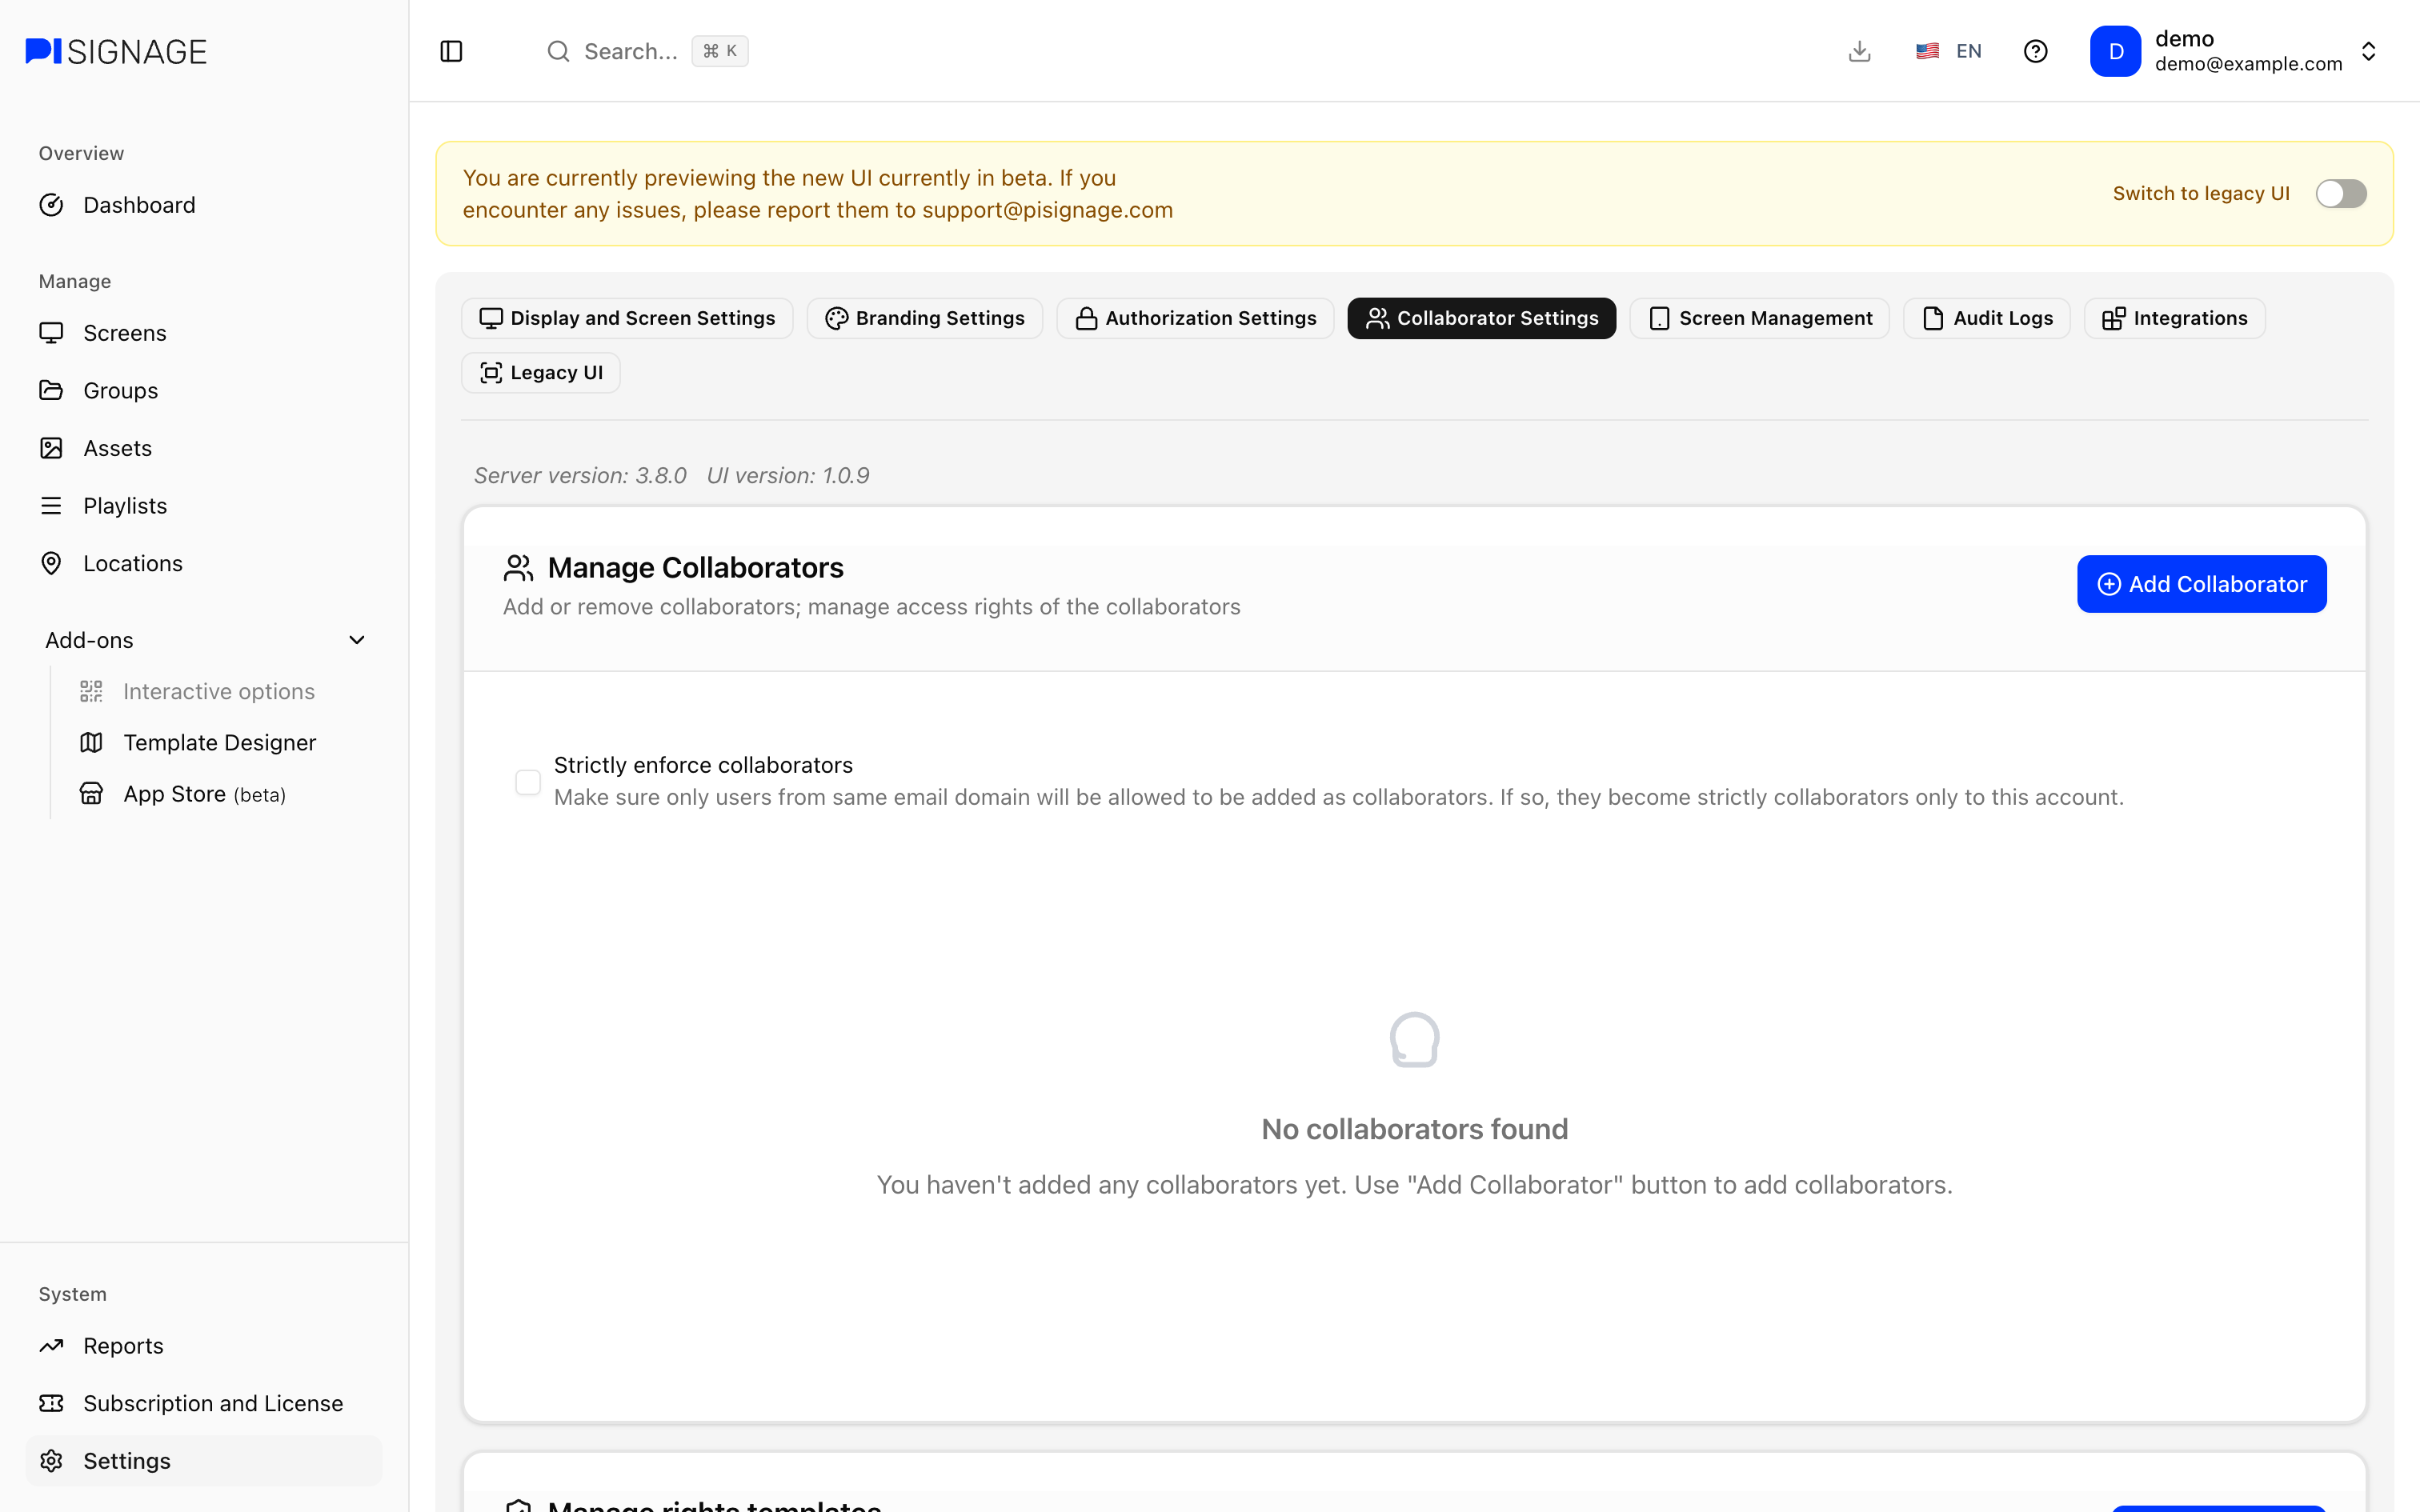
Add a collaborator
- Click on the “+ Add Collaborator” button under Manage Collaborators.
- Choose how you would like to add the collaborator:
- Create new user: Pick a unique username for the collaborator along with an optional email and a password. You can also check Force this collaborator to change their password on next login.
- Add existing user: Enter the exact username of someone who already has a PiSignage account.
- Click on Next and choose the groups, locations and rights of the collaborator (see below). You can also Apply a template to use a saved set of rights.
- Click on Add Collaborator to add the same.
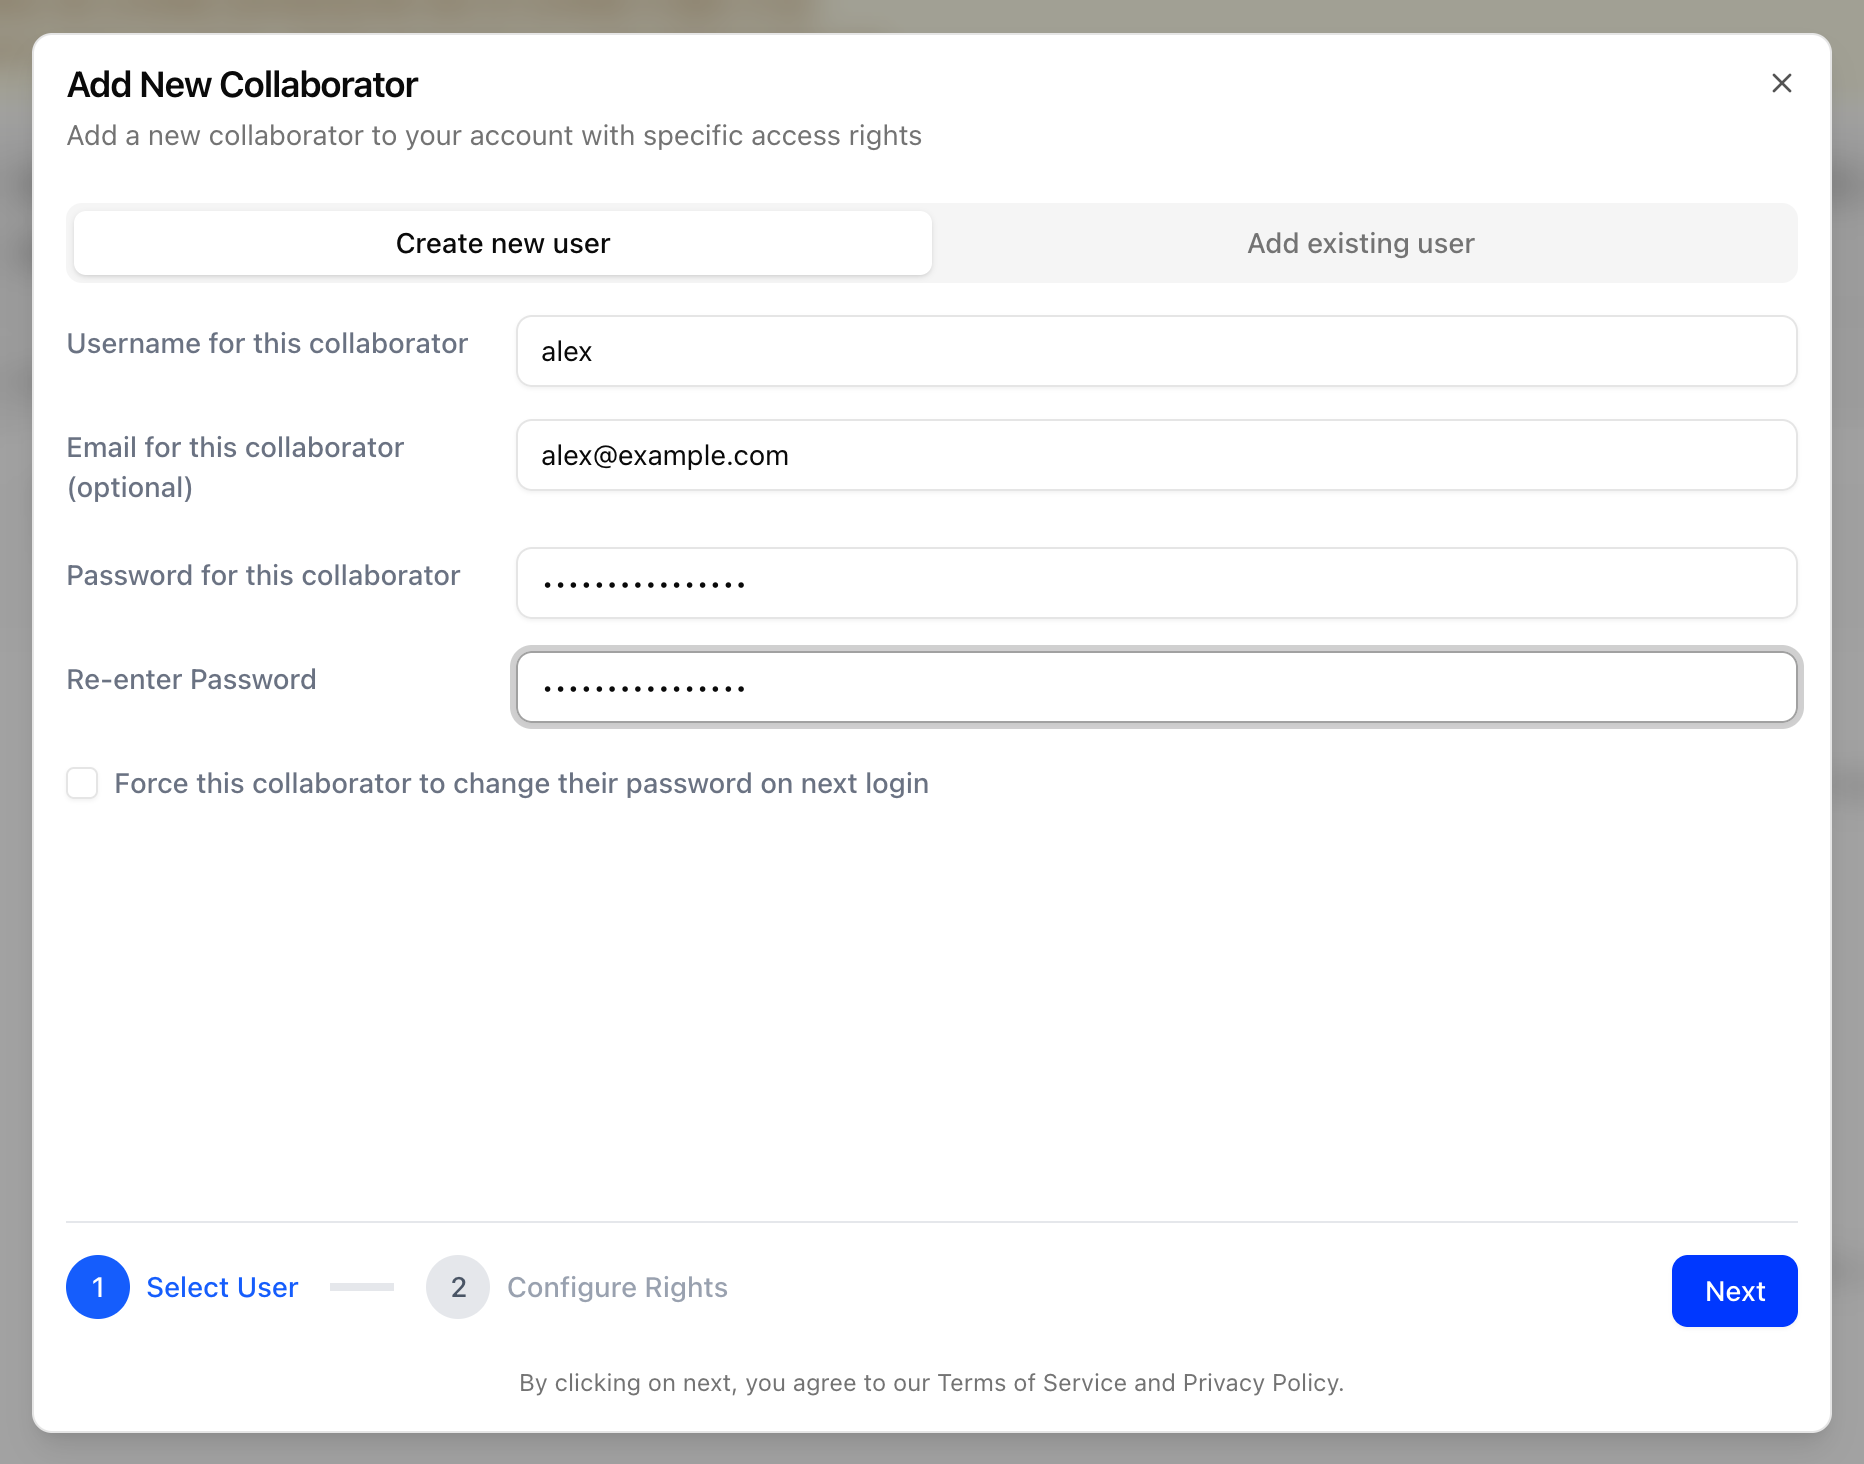
The password is optional if the collaborator signs in with SAML. See SSO for collaborators below.
Edit or remove a collaborator
To change the rights of a collaborator click on the pencil icon next to their name. The X icon removes the collaborator straight away without asking for a confirmation, so do be careful.
Strictly enforce collaborators
Check Strictly enforce collaborators to make sure only users from the same email domain are allowed to be added as collaborators. If so, they become strictly collaborators only to your account.
Rights
When adding or editing a collaborator you can choose:
- Assign to Groups: All, None or the specific groups the collaborator can access
- Assign to Locations: All or the specific locations the collaborator can access
- The rights of the collaborator across PiSignage
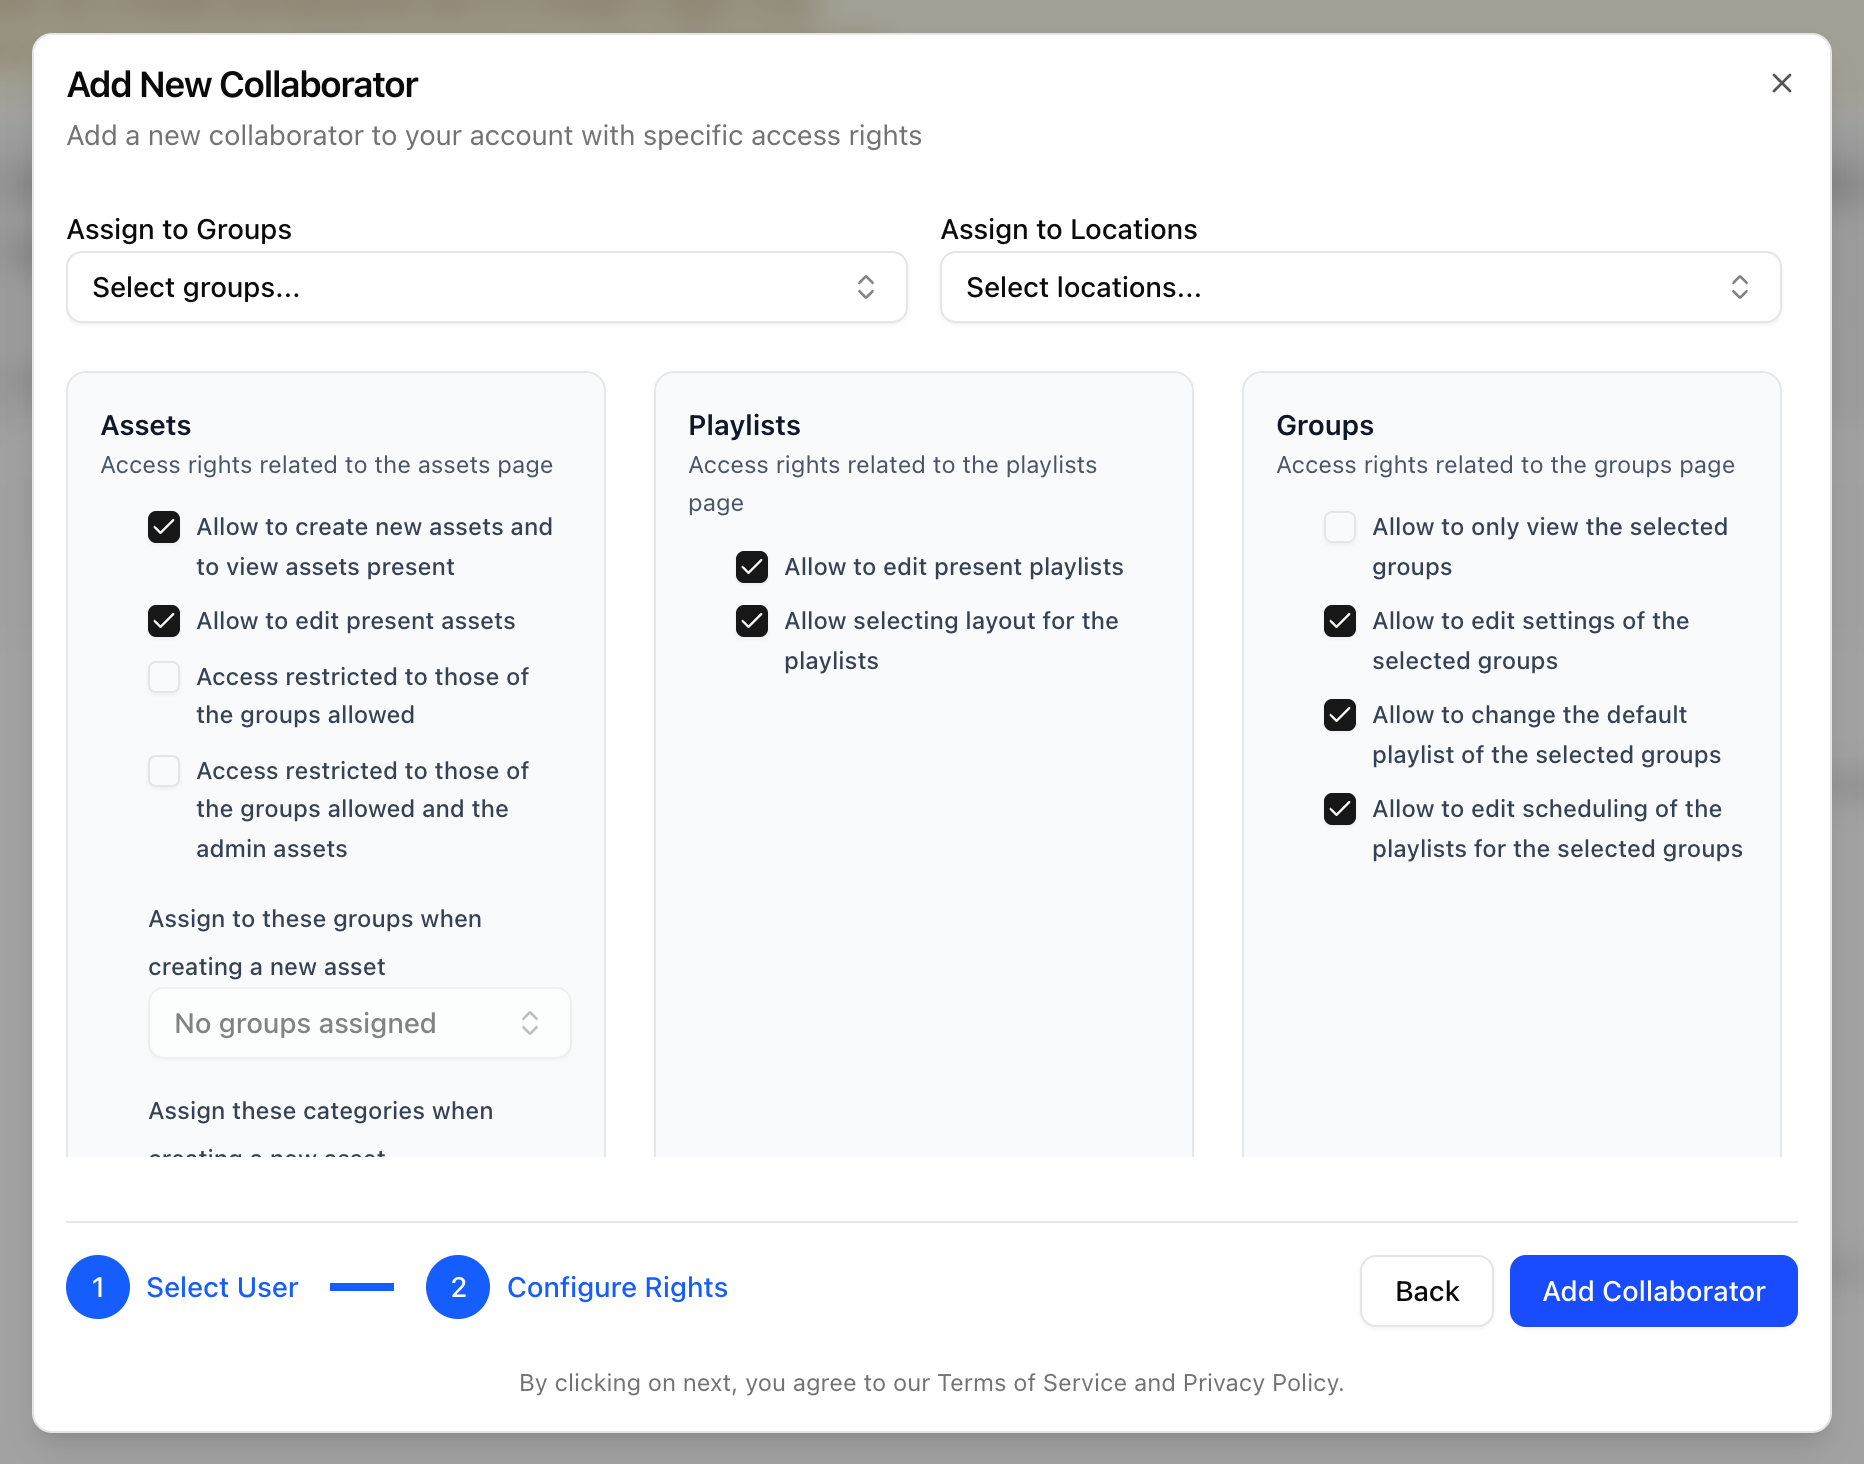
| Section | Rights |
|---|---|
| Assets | “Allow to create new assets and to view assets present”, “Allow to edit present assets”, “Access restricted to those of the groups allowed”, “Access restricted to those of the groups allowed and the admin assets” |
| Playlists | “Allow to edit present playlists”, “Allow selecting layout for the playlists” |
| Groups | “Allow to only view the selected groups”, “Allow to edit settings of the selected groups”, “Allow to change the default playlist of the selected groups”, “Allow to edit scheduling of the playlists for the selected groups” |
| Players | “Allow to create new players”, “Allow to edit settings of the players”, “Allow to access screen terminals (i.e., run commands, take screenshots and override with playlists)” |
| Locations | “Only allow to view the location and not edit it” |
| Settings | “Allow to edit all settings”, “Allow to edit, add and remove collaborators” |
| Payments | “Allowed to make payments” |
| Template Designer | “Allow to edit the templates” |
| App Store | “Allow to view app store pages”, “Allow to create, edit and delete app store pages” |
A few things to keep in mind:
- Checking “Allow to only view the selected groups” clears the other group rights.
- “Allow to edit, add and remove collaborators” only shows up once “Allow to edit all settings” is checked.
- For assets you can also choose the groups and categories that get assigned automatically when the collaborator adds a new asset.
Default rights
By default a new collaborator can create, view and edit assets, edit playlists and select their layout, edit the settings, default playlist and schedules of their groups, create players, edit player settings, access screen terminals and edit templates. They cannot edit settings or make payments until you give them the right to do so.
What does a collaborator see?
A collaborator assigned to specific groups only sees those groups along with the screens and playlists in them. A playlist is visible to a group once it is assigned to the same (Playlists). For assets, “Access restricted to those of the groups allowed” limits the collaborator to the assets assigned to their groups (Groups).
Collaborators without the right to edit settings or make payments will not see the System section (Reports, Subscription and License and Settings) in their menu. “Allowed to make payments” lets a collaborator view Subscriptions and Licenses and pay for your account.
Rights templates
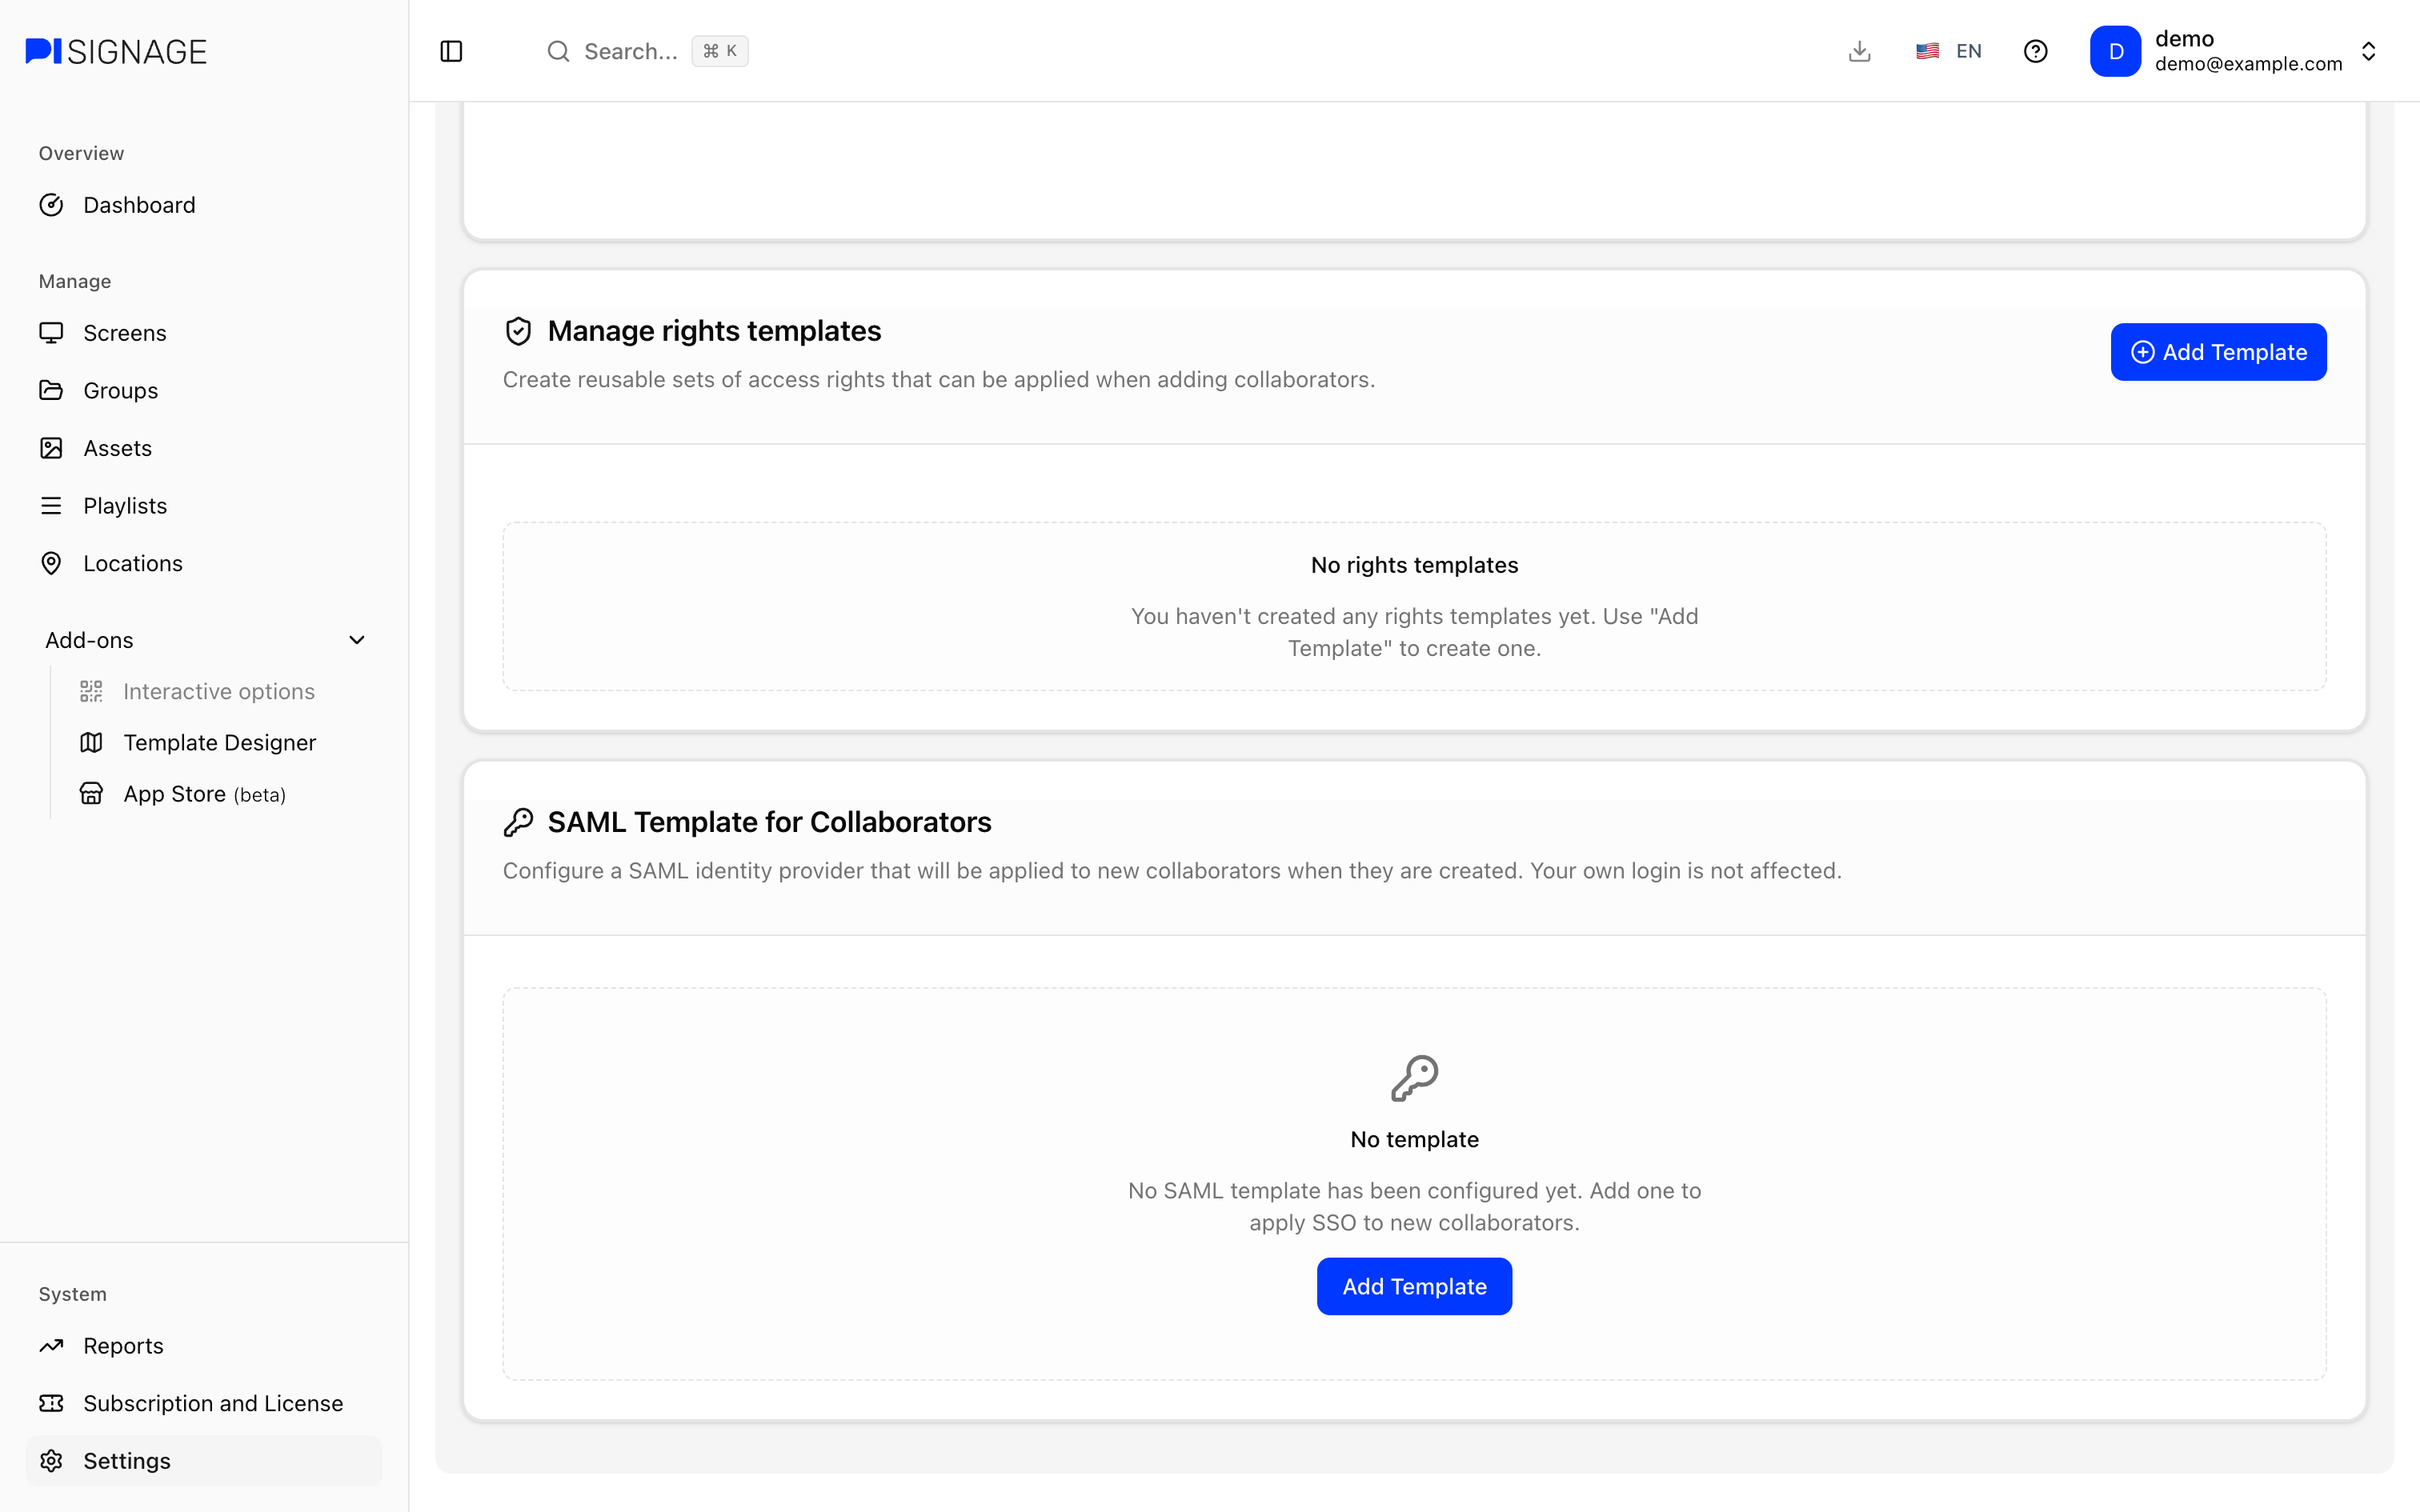
Giving more than one person the same rights? Save them once as a rights template.
- Under Manage rights templates click on the “+ Add Template” button.
- Pick a unique name for the template, choose its groups, locations and rights and click on Add Template.
- When adding a collaborator, choose the template under Apply a template.
When a template is applied, the rights come from the template and are applied as saved in it. Leave the template unselected to set the rights by hand.
You can have at most 3 rights templates. The name of a template cannot be changed once it is created.
SSO for collaborators
SAML Template for Collaborators lets your collaborators sign in through your company's identity provider. Your own login is not affected.
- Under SAML Template for Collaborators click on Add Template. You may be asked to confirm your current password.
- Enter the Entry Point URL, Issuer and X.509 Certificate from your identity provider. The Private Key and Relay State are optional.
- Click on Save Template.
- When creating a new collaborator check Use SAML template for this collaborator.
Every collaborator who signs in with SAML needs their own email address, different from yours.
Check Apply to existing SAML collaborators when saving the template to also replace the SAML configuration of the collaborators created so far that sign in with SAML. Collaborators using other login methods are not changed.
If your own account signs in with SAML you can also choose Use SAML of parent account for this collaborator.
Looking to set up SSO for your own account? Signup and Login covers the same.