Settings
The Settings tab is where you manage the settings for your whole account
You can find Settings in the System section at the bottom of the main menu. The chips on the top of the page switch between the different categories of settings.
The settings here apply to all of the screens in your account. Settings for a specific set of screens are found in the settings of each of your Groups.
Looking to change your password or setup 2FA? Click on your profile settings in the top right of the screen. Signup and Login covers the same.
Only users with the right to edit settings can see this page. Everyone else will see “Access Denied”. You can change the rights of a user in Collaborators.
Just below the chips you will find the Server version and the UI version of your account. Do include the same when you write to Support.
Display and Screen Settings
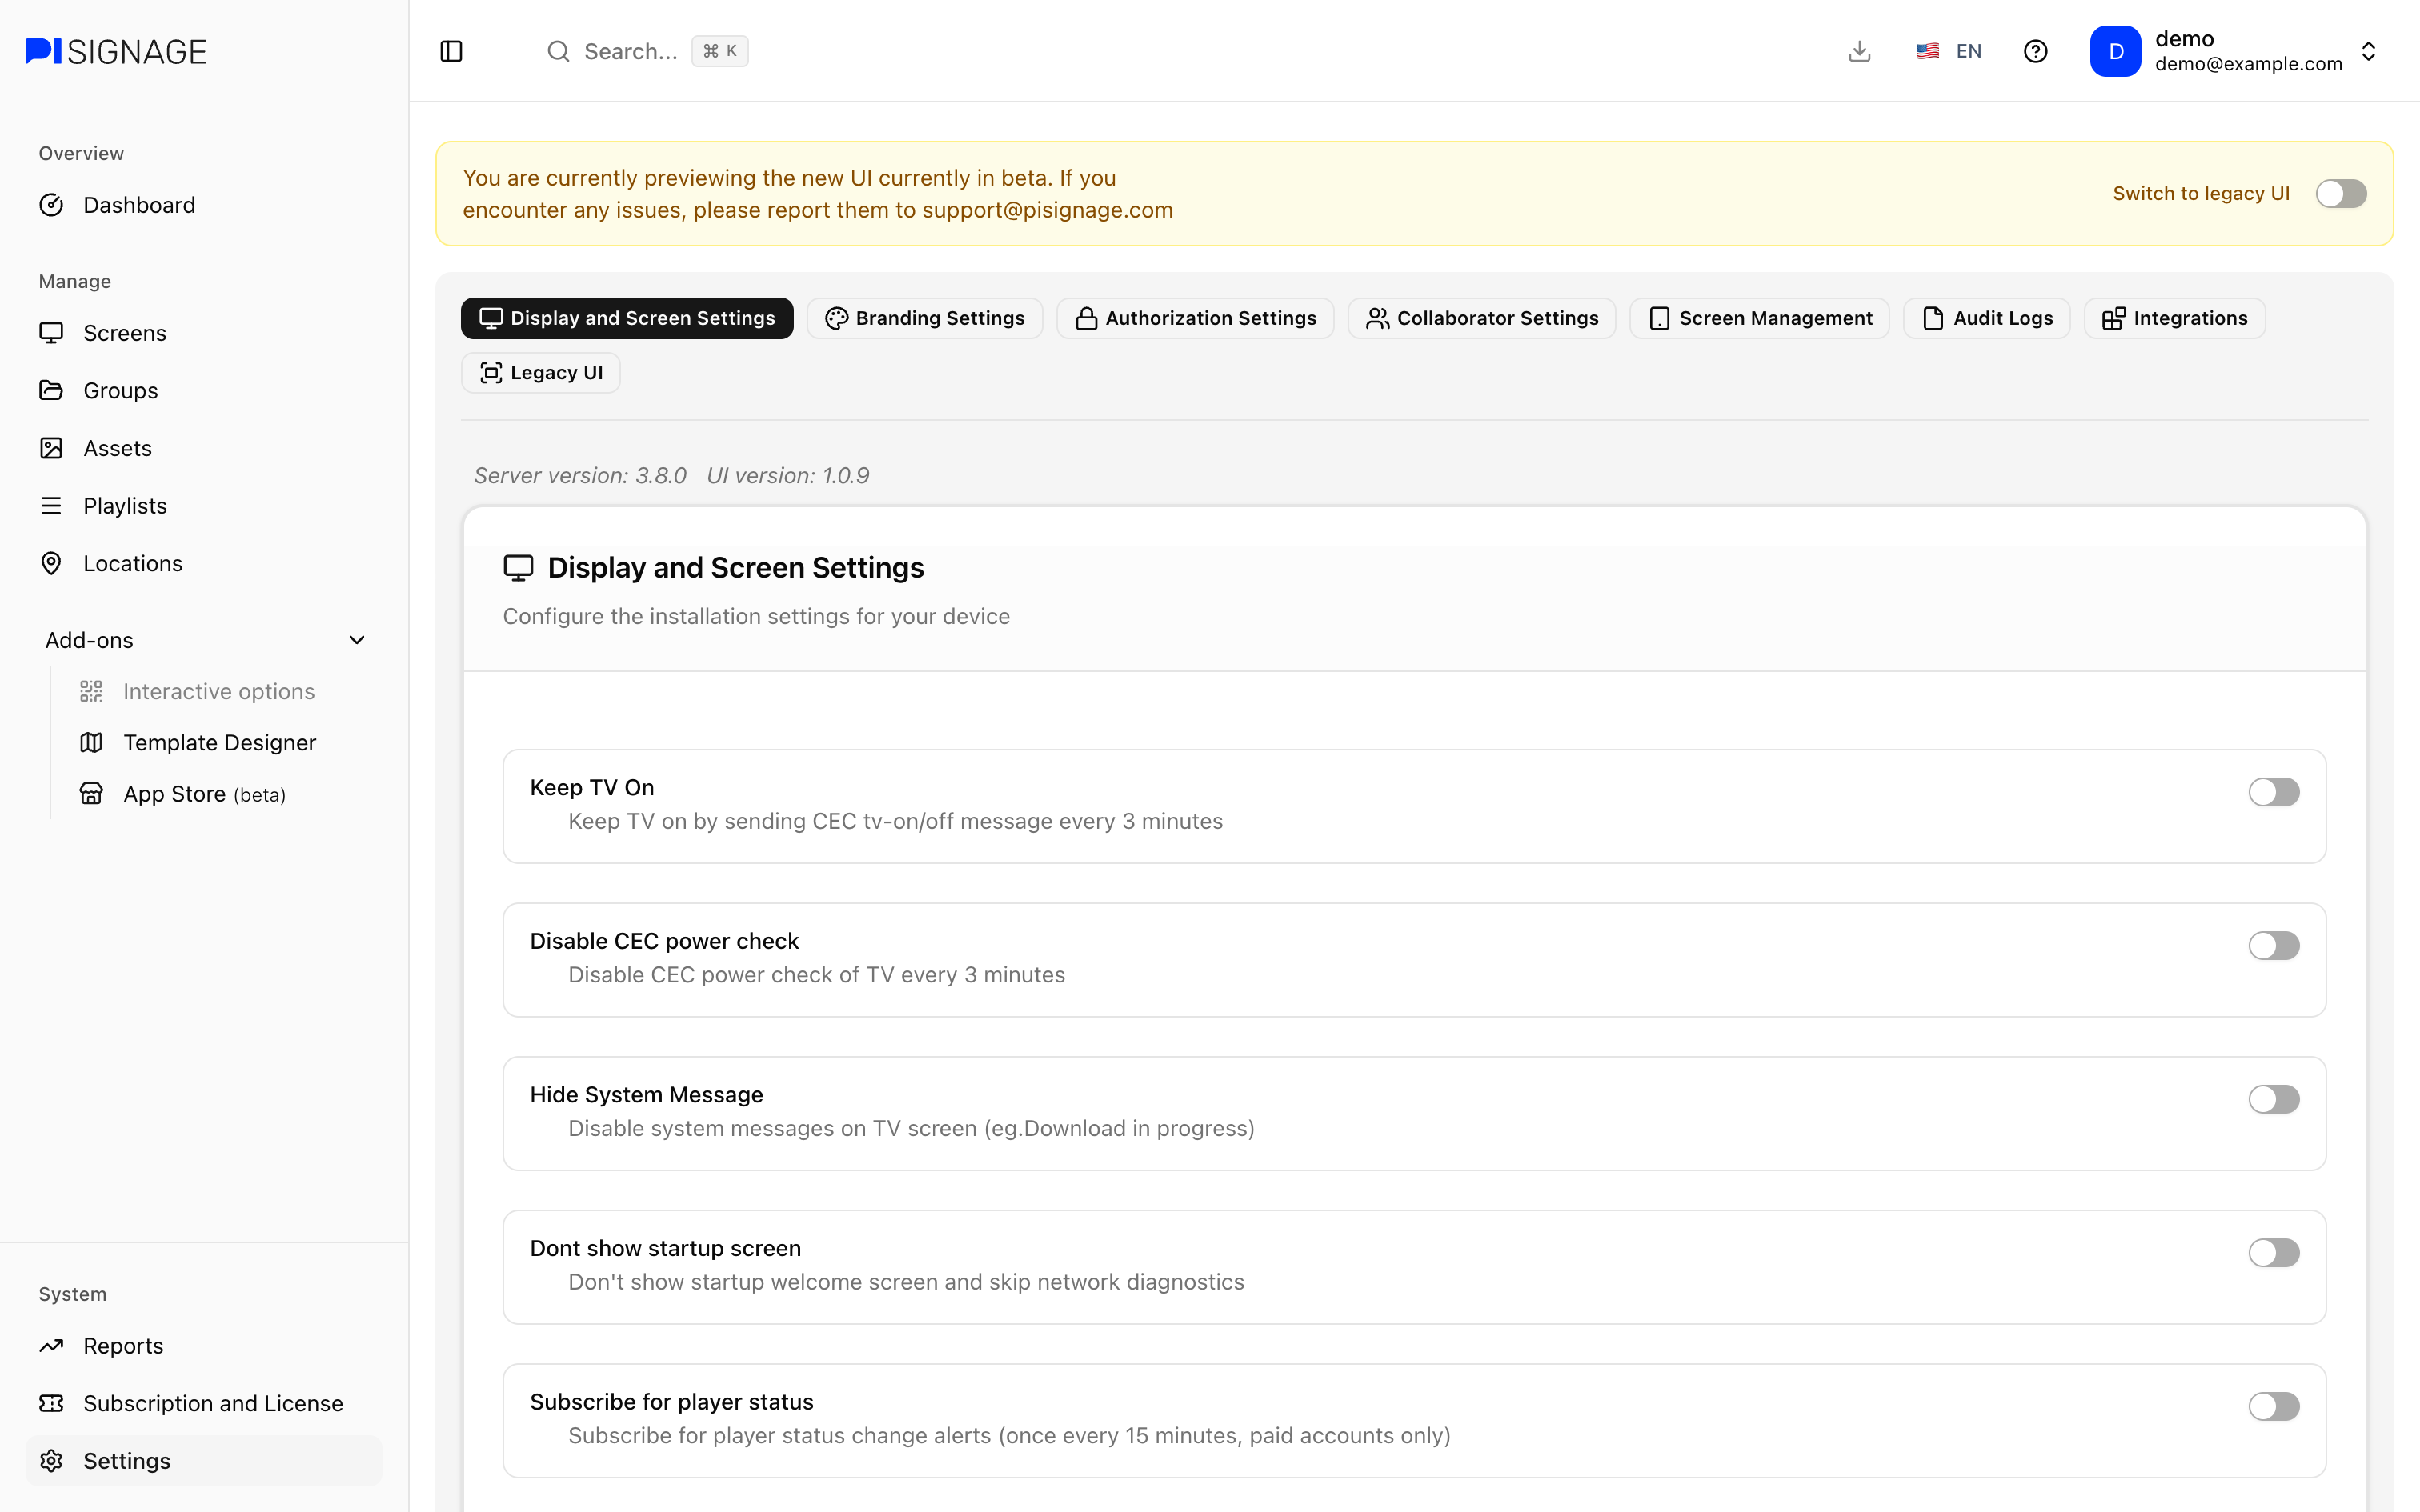
Display and Screen Settings control how all of the players in your account behave. Changes here are saved the minute you make them.
| Setting | Description |
|---|---|
| Keep TV On | Keeps the TV on by sending a CEC tv-on/off message every 3 minutes |
| Disable CEC power check | Disables the CEC power check of the TV every 3 minutes |
| Hide System Message | Hides system messages on the TV screen (eg. Download in progress) |
| Dont show startup screen | Skips the startup welcome screen and network diagnostics |
| Subscribe for player status | Sends you an email alert when the status of a player changes (once every 15 minutes, paid accounts only) |
| Auto-register player | Registers new players automatically when they power on. Add the USER PIN shown here to the player-config.txt of the player |
| Disable download from UI to your local storage | Disables downloading files from the UI to your local storage |
| Enable log for file play count/details | Logs the play count of your files for the Files report in Reports. This is network intensive so do not enable it unless you need it! |
| Disable player download on modem | Stops players from downloading files when wifi/ethernet is not available (i.e. over a modem interface) |
| Bypass video conversion | Skips the conversion of your videos to MP4 so you can upload 4K videos. Make sure the video is in mkv or mp4 format |
Below the switches you will also find:
- Default duration for assets in playlists: The duration an asset gets when you add it to a playlist (10 by default)
- Screen reporting interval in minutes: How often your screens report to the server (5 by default)
- Zone Aliases: Your own names for the side, bottom, zone4, zone5 and zone6 zones of your playlist layouts
Branding Settings
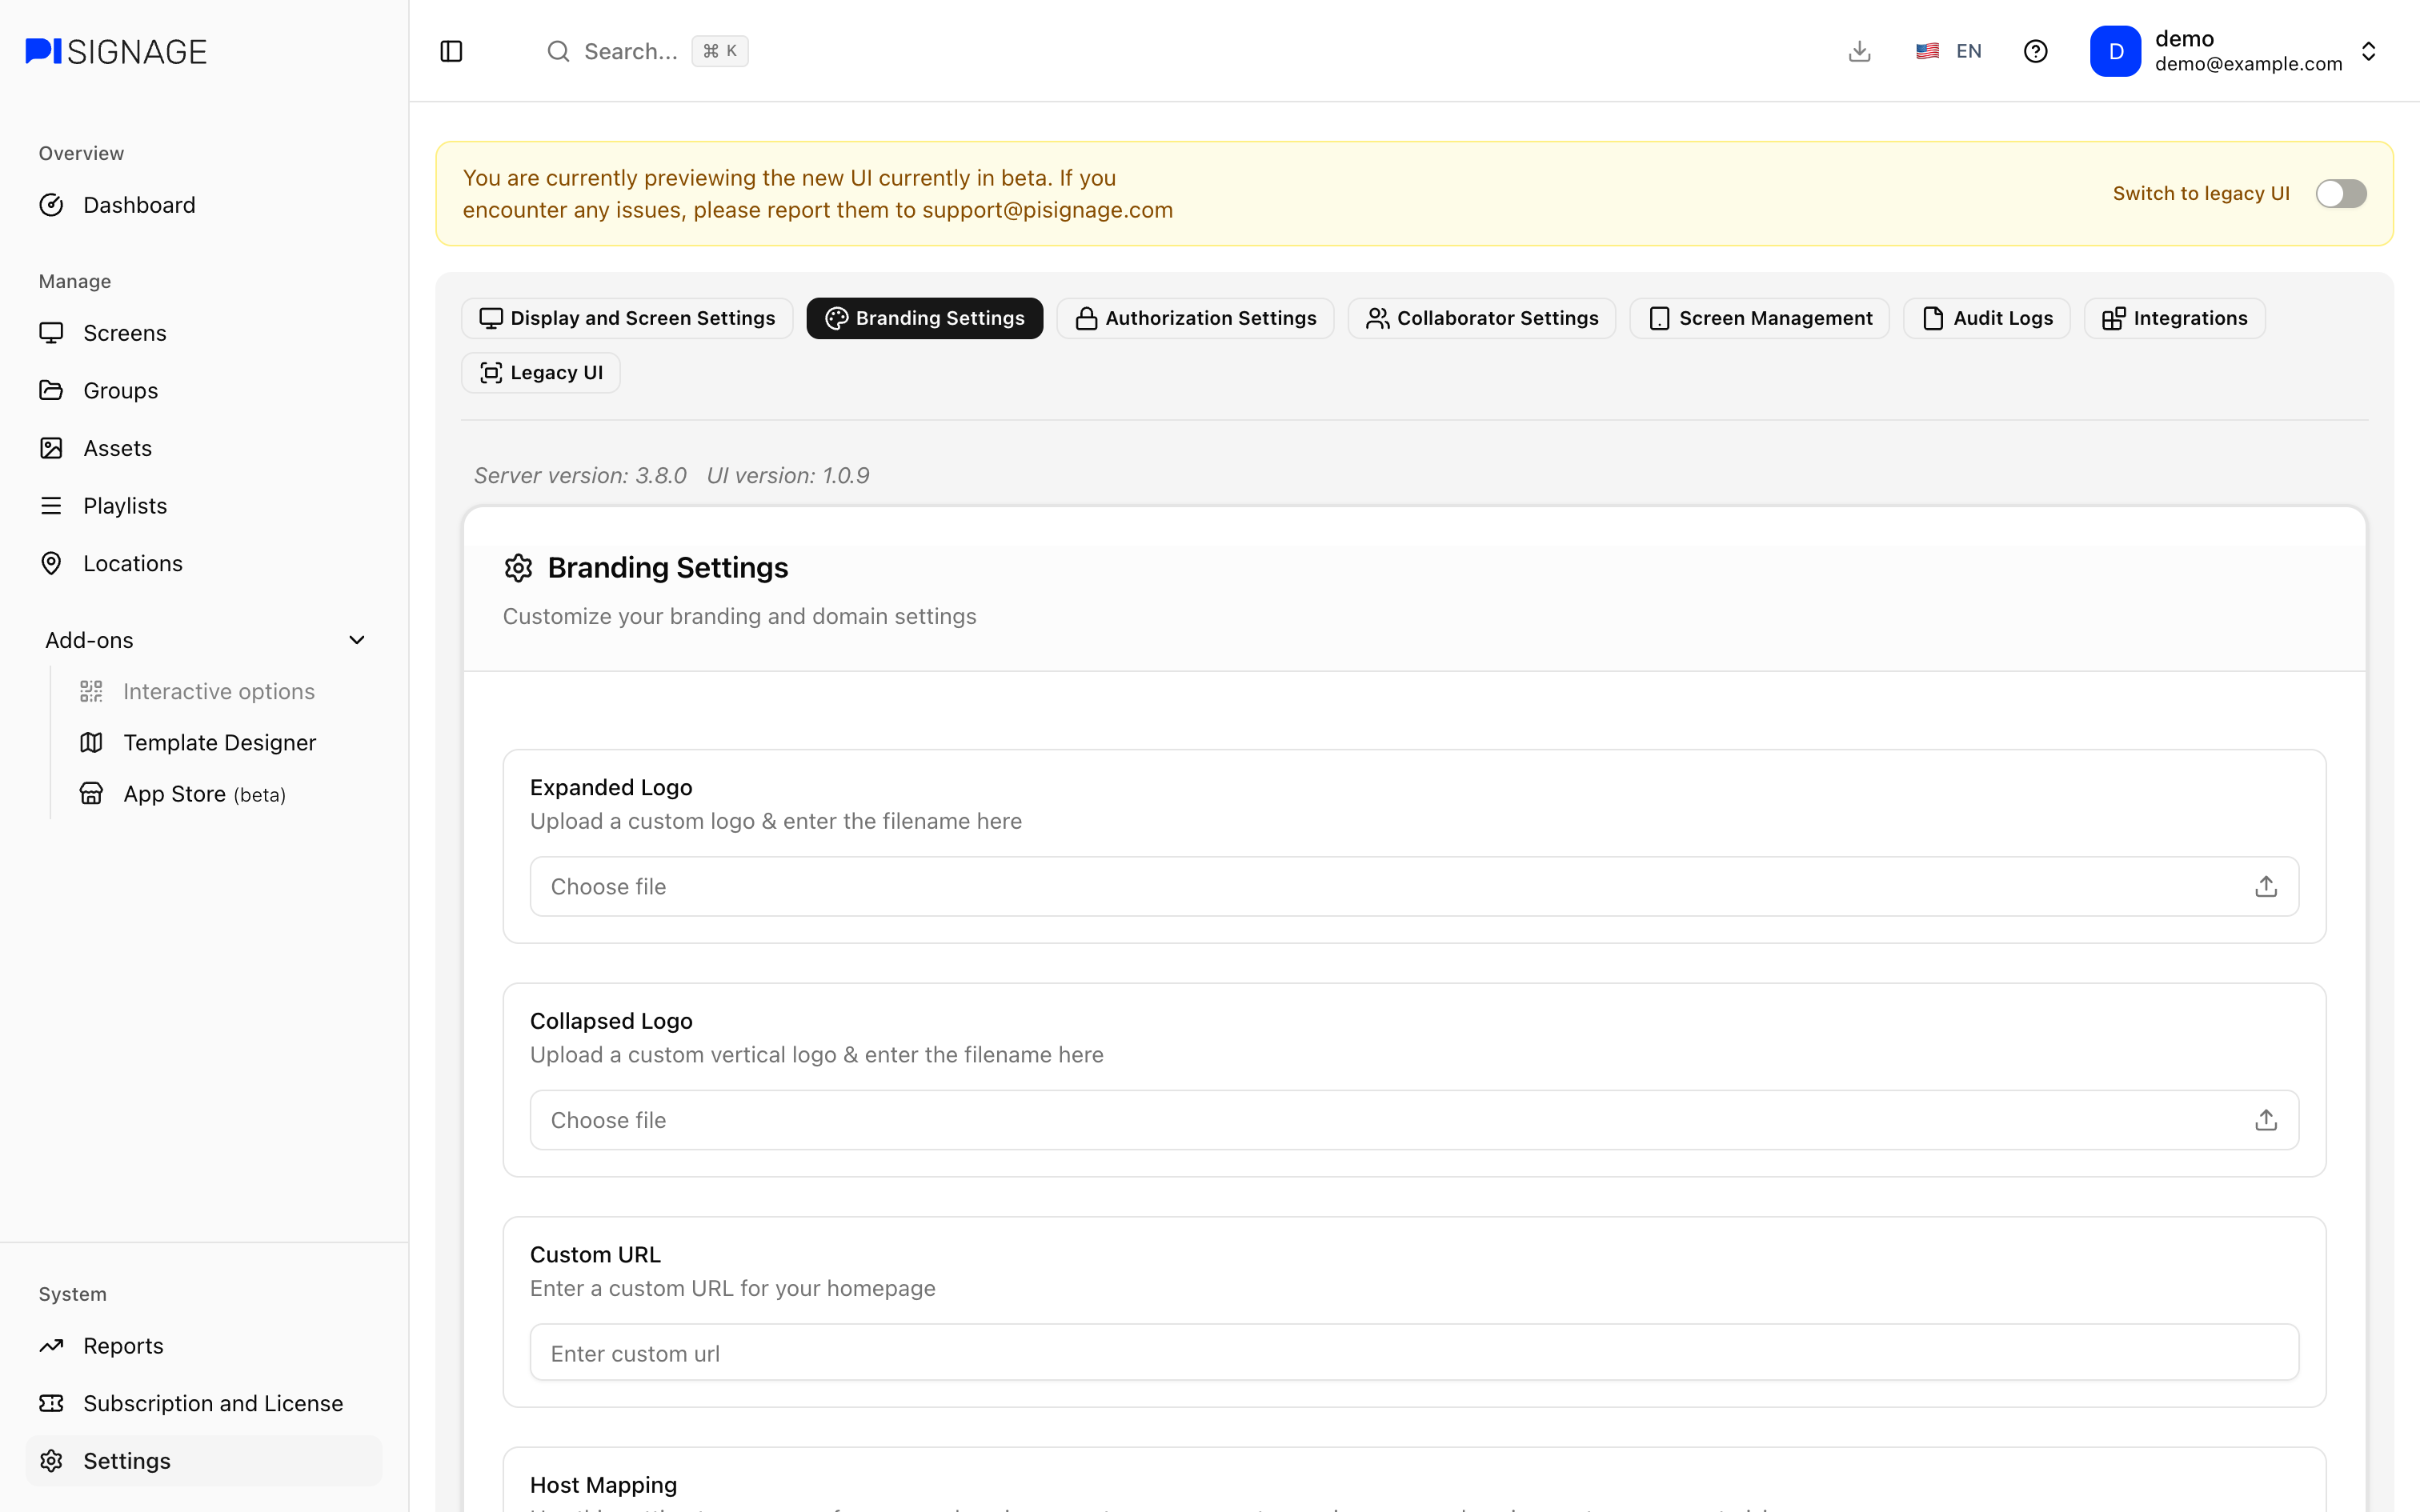
Branding Settings let you add your own logos, colors, homepage and domain to PiSignage. To know more about white labelling PiSignage please see White Label.
| Setting | Description |
|---|---|
| Expanded Logo | Your logo, shown when the menu is expanded |
| Collapsed Logo | A vertical version of your logo, shown when the menu is collapsed |
| Custom URL | A custom URL for your homepage |
| Host Mapping | Maps one of your own domain names to your account, e.g. signage.yourdomain.com to myaccount.pisignage.com. Available to accounts with 25+ players |
| Primary Color and Secondary Color | Your brand colors as a 6-digit hex code, for example #0038FF. The X resets the color to the default |
| Login Image, Signup image, Verify email image, Two-Factor Authentication choice image, Authenticator app setup image and Success image | Custom images for each step of the login and signup flow |
Images need to be under 5MB. Once done click on Save Changes and the page reloads with your new branding.
Host mapping is available to accounts with 25+ players. To enable host mapping please write to support@pisignage.com so we can upload or create new https certificates for your domain.
Authorization Settings
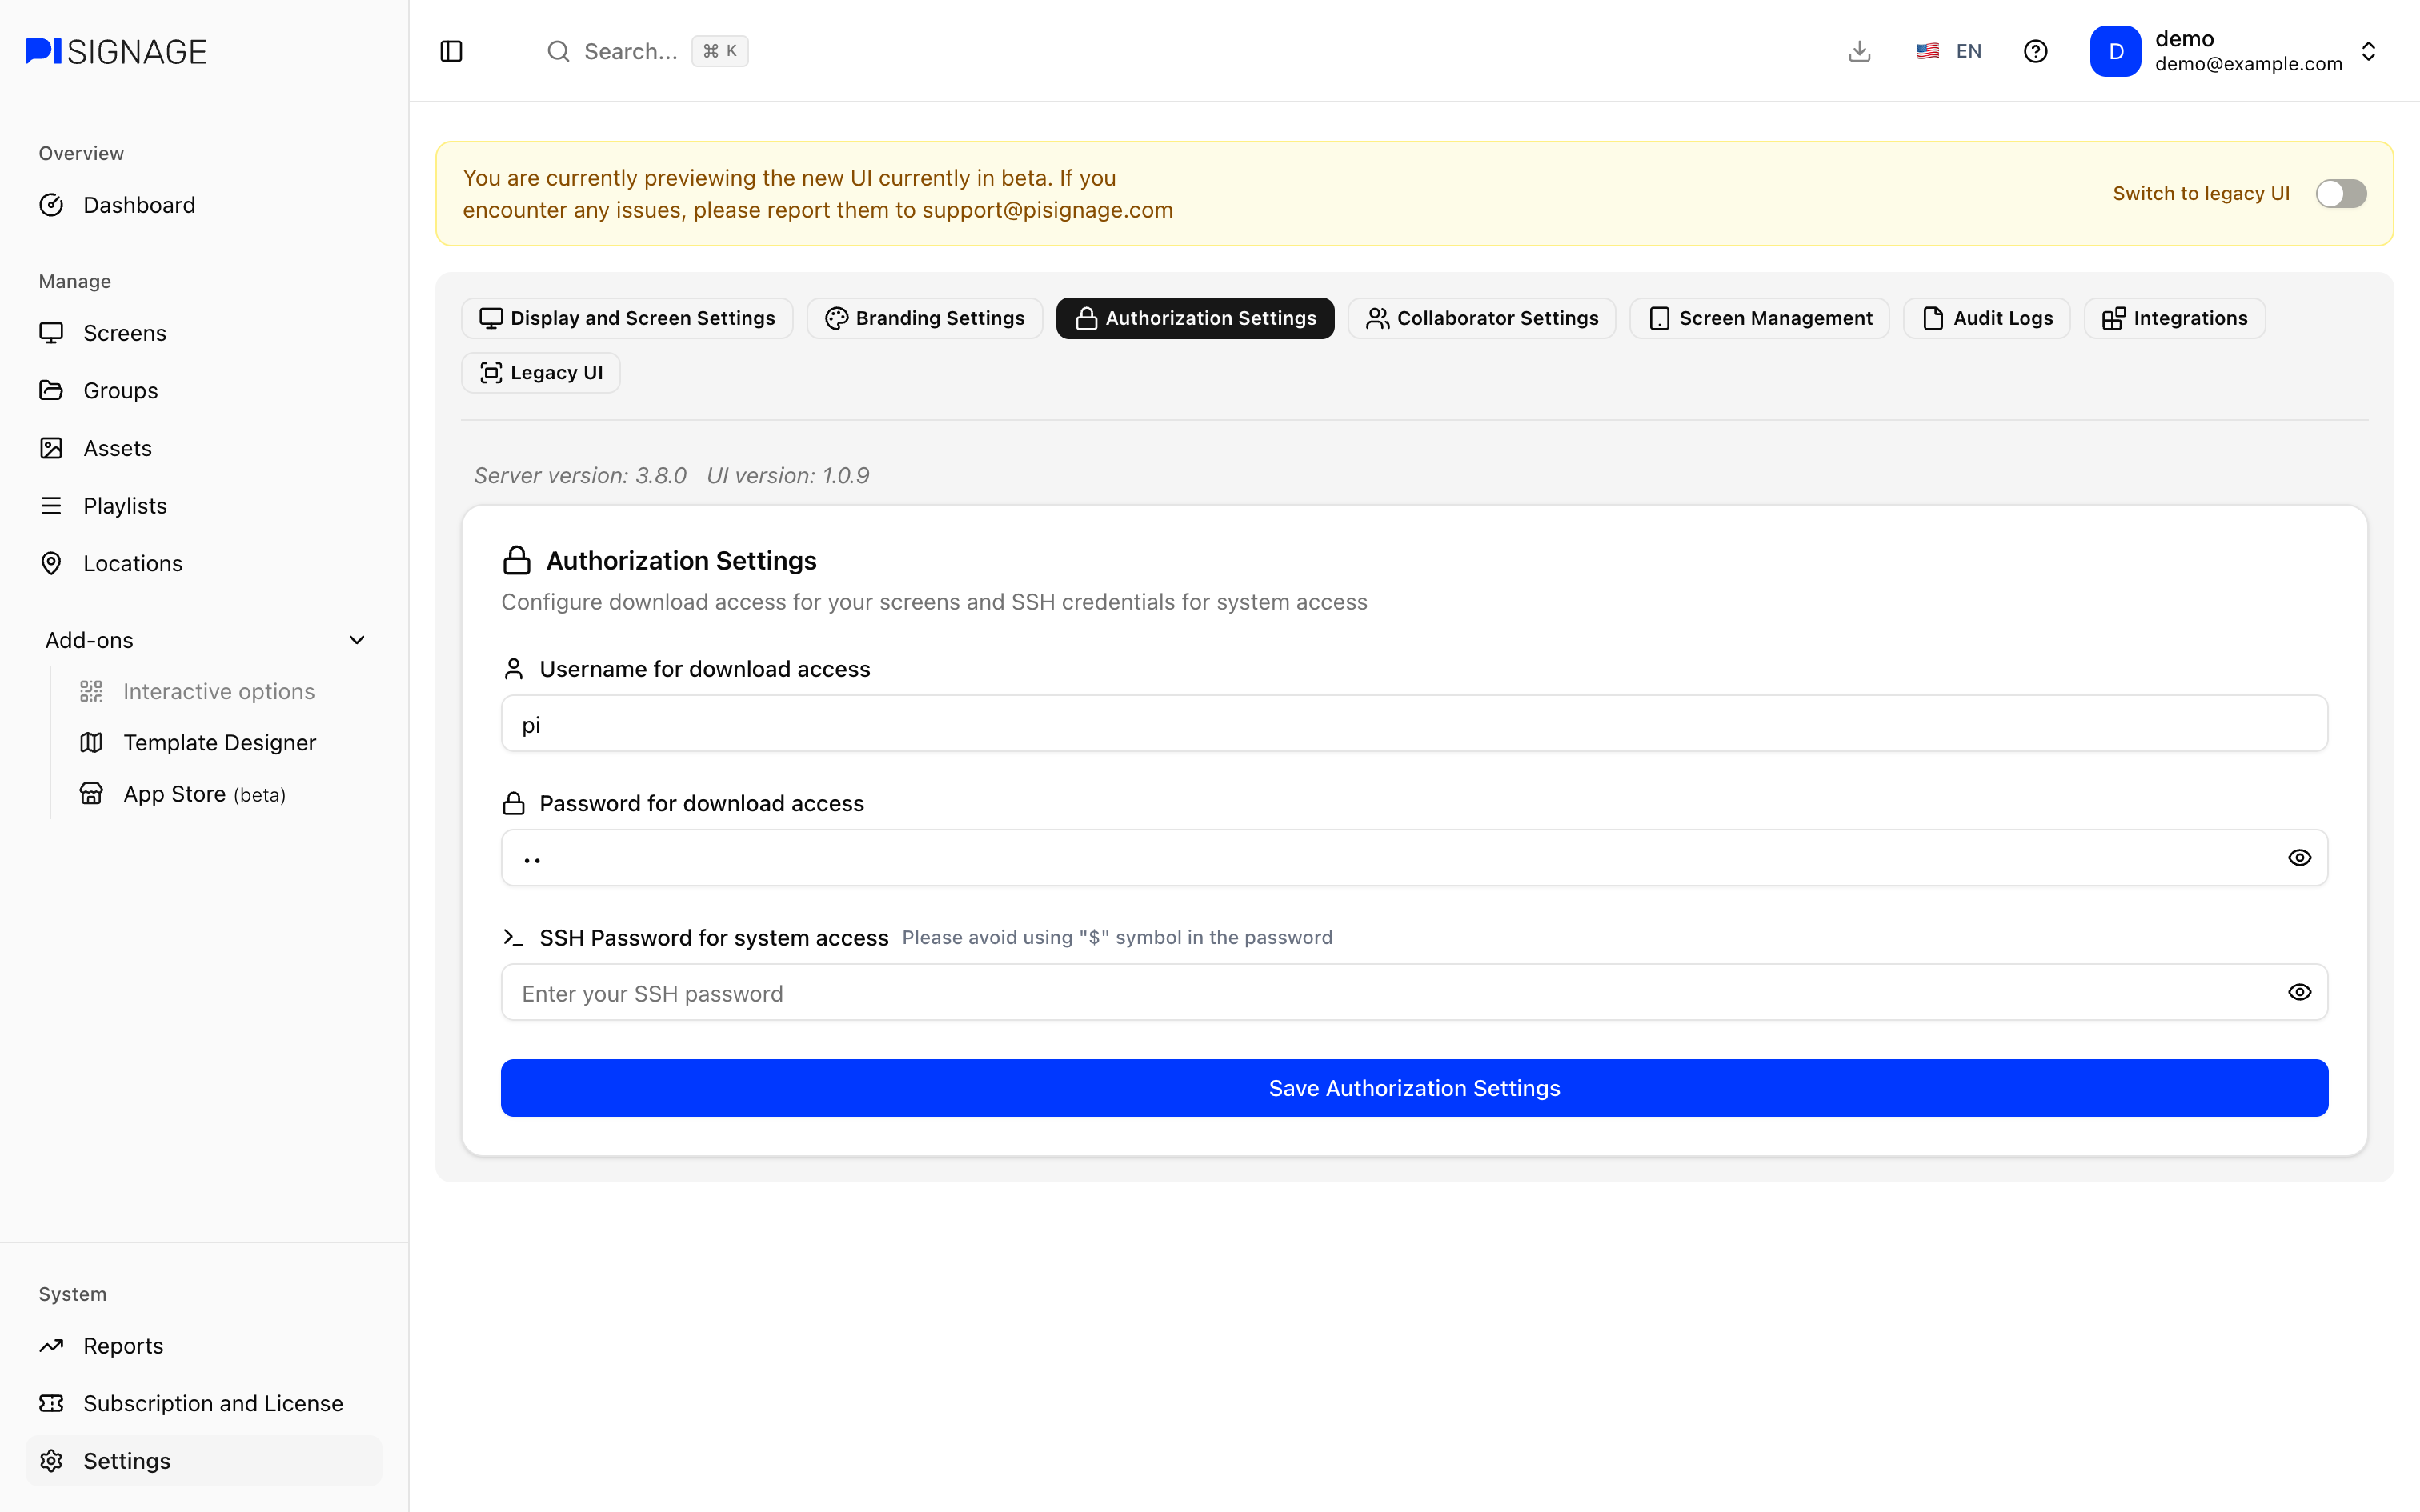
Authorization Settings hold the passwords used to access your players directly.
- Username for download access and Password for download access: Protect the local web page of your players from where their content can be downloaded
- SSH Password for system access: The password used to access your players over SSH. Please avoid using the "$" symbol in the password
All three fields are required. Once done click on Save Authorization Settings and deploy your Groups so your players pick up the new passwords.
Collaborator Settings
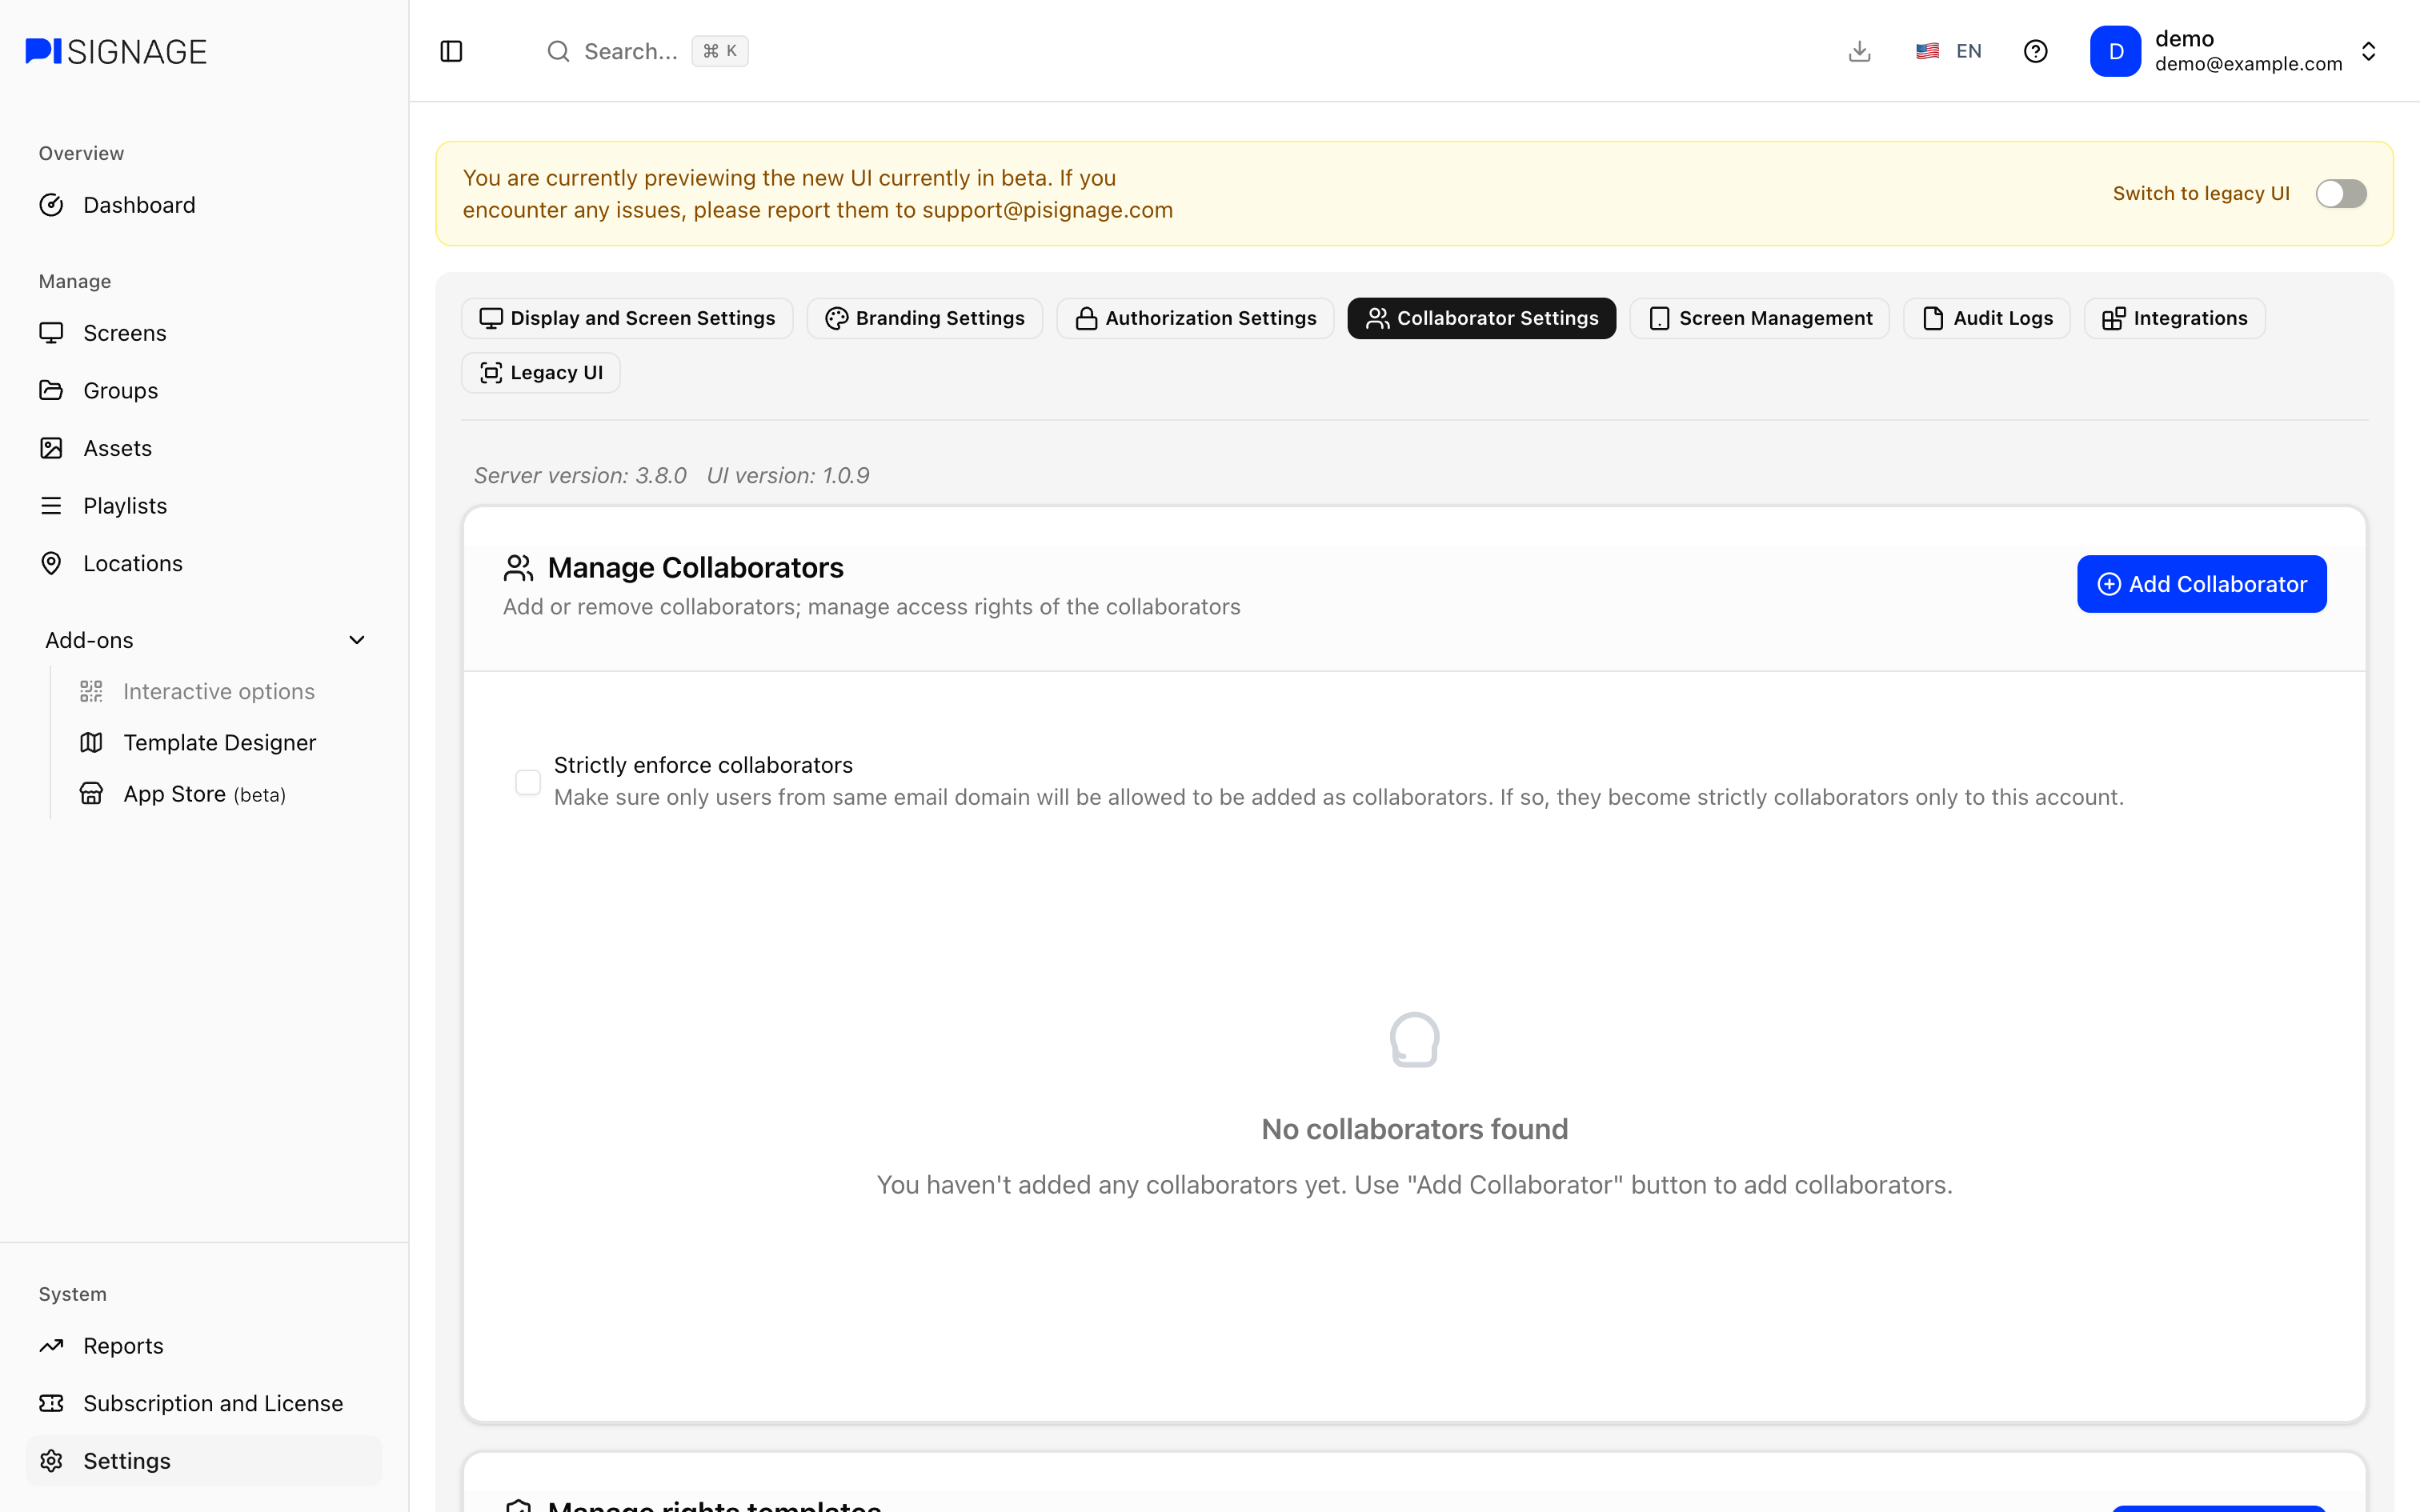
Collaborator Settings is where you add team members to your account and choose what they can see and do. It has three parts - Manage Collaborators, Manage rights templates and SAML Template for Collaborators. Collaborators covers all of the details on the same.
Screen Management
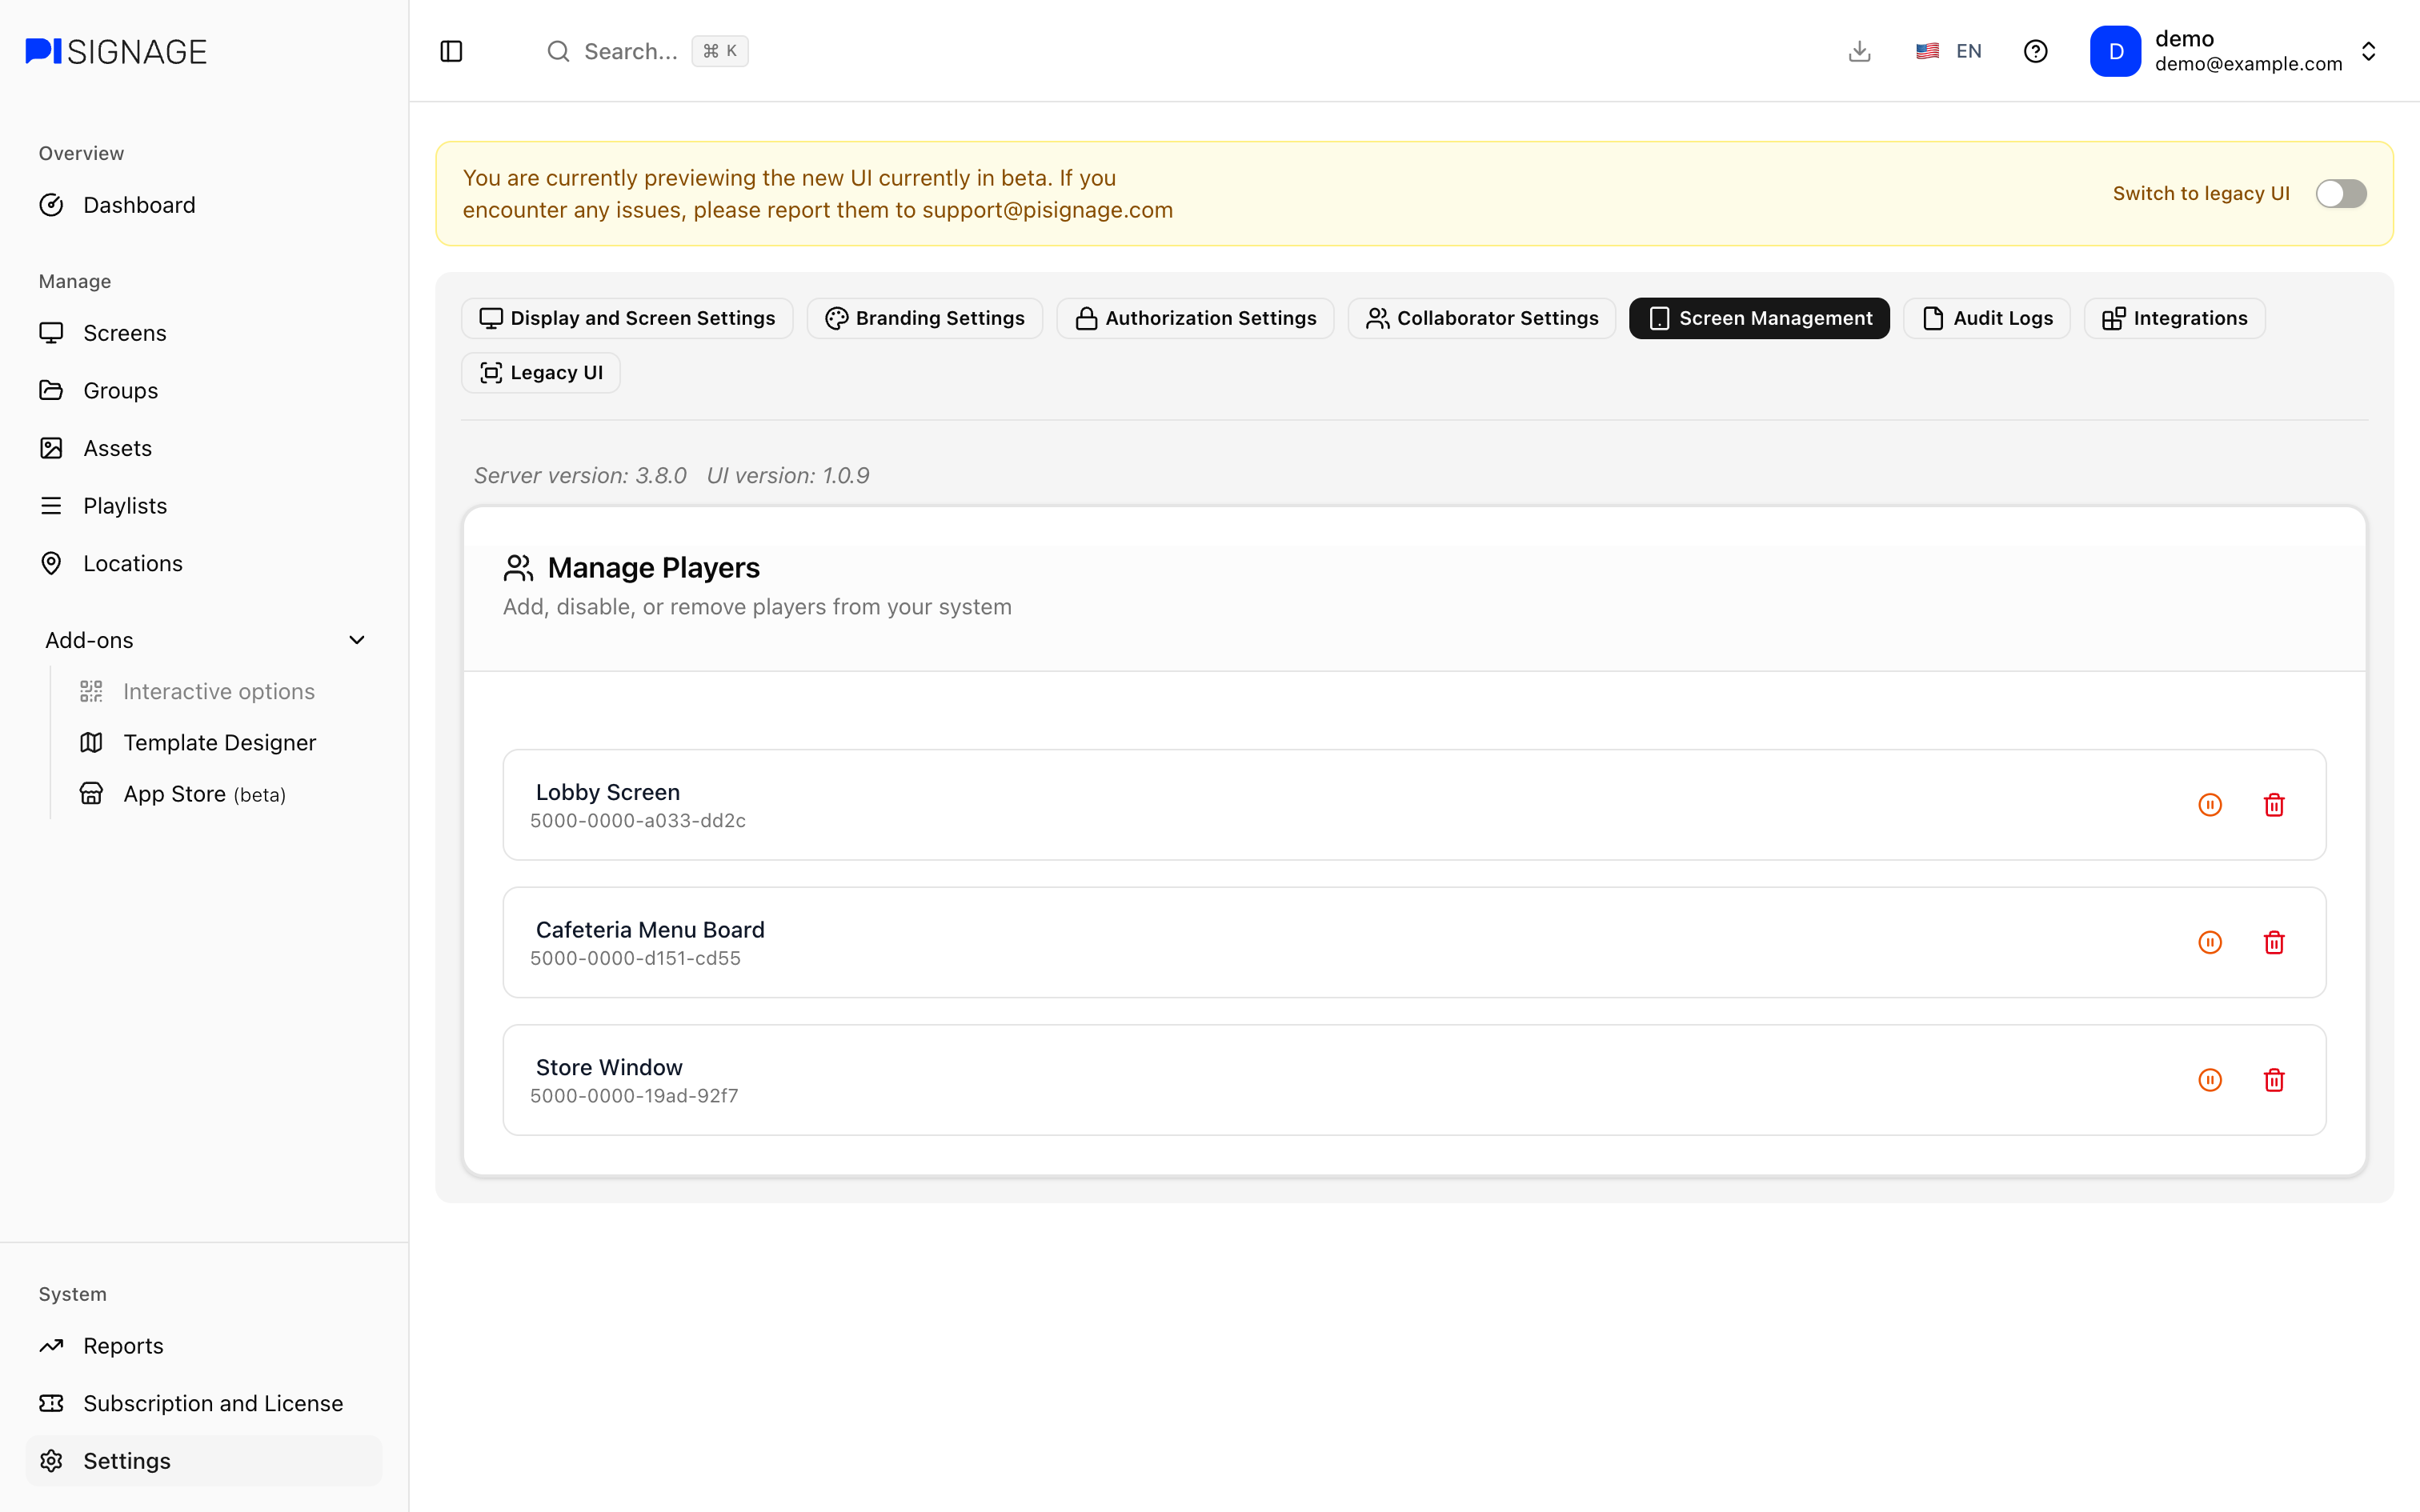
Screen Management lists all of the players in your account along with their Player ID. Here you can:
- Disable player or Enable player
- Remove player: Removes the player from your account straight away
Moving a player to another account? Remove it here first and then register it on the other account as shown in Screens.
Audit Logs
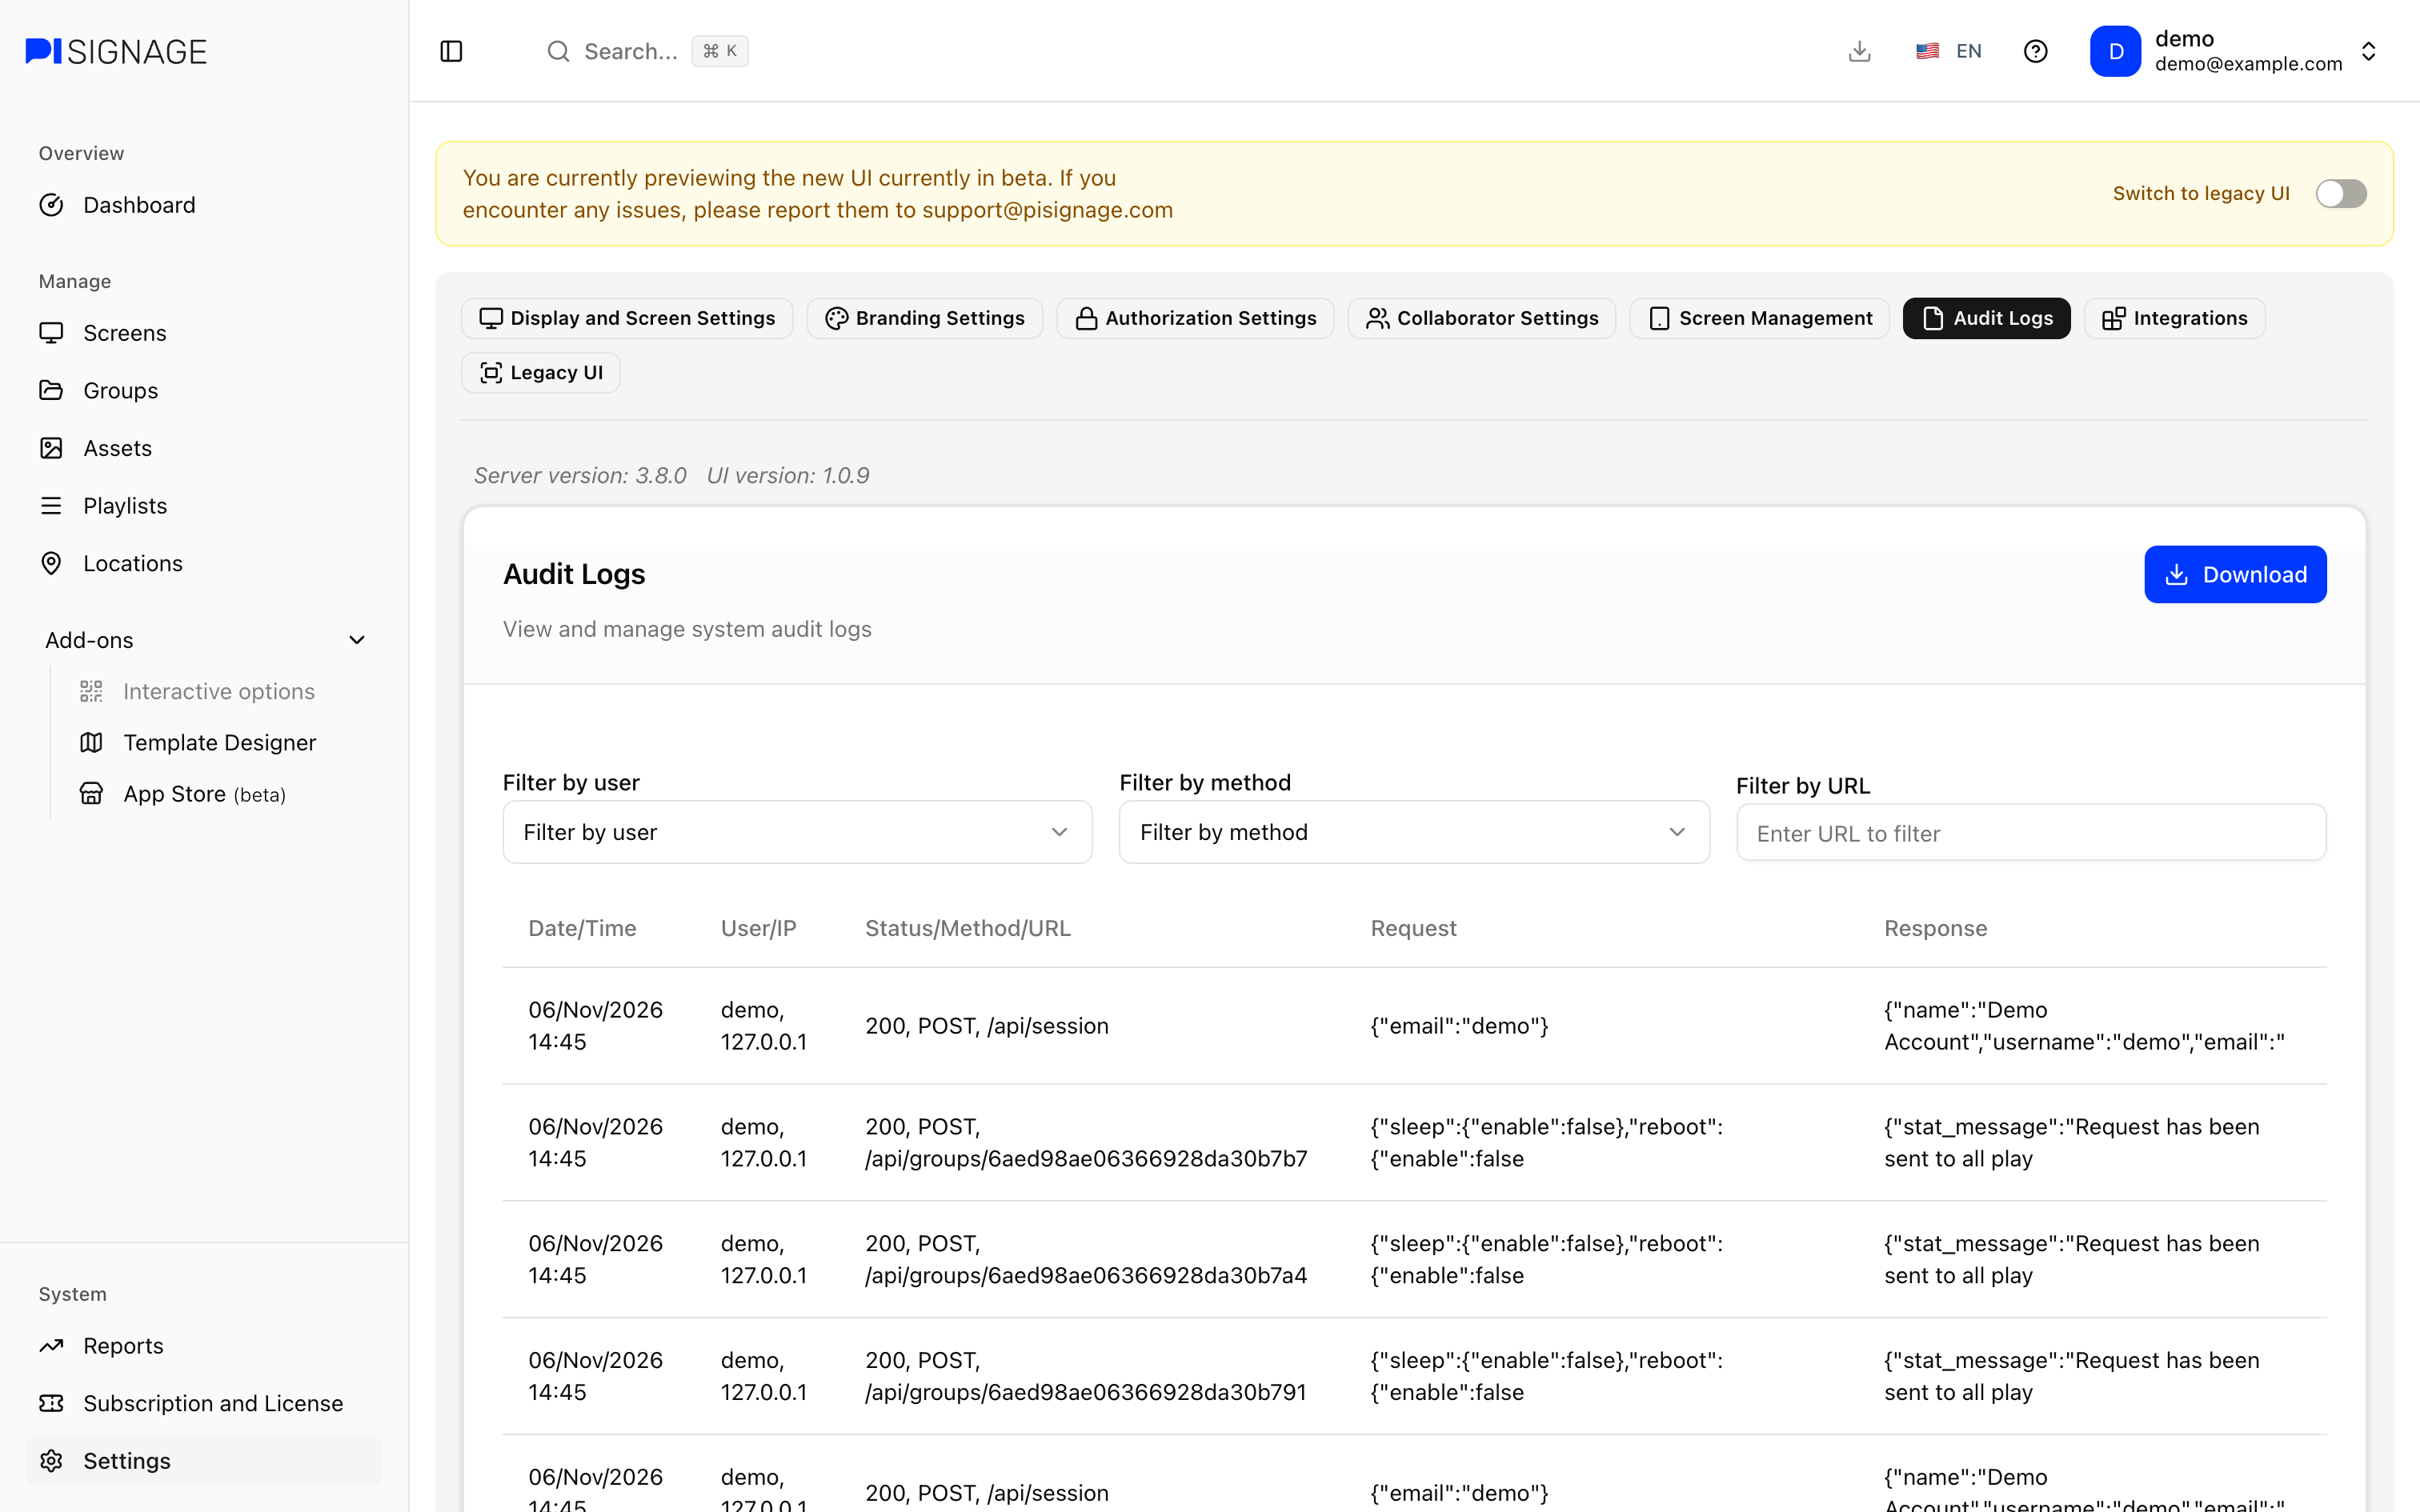
Audit Logs is where you can view the log of requests made in your account. Each entry shows the Date/Time, the User/IP and the Status/Method/URL along with the Request and Response. Click on an entry to see all of its details.
You can filter the logs by user, method or URL and click on Download to export the same as a CSV.
Integrations
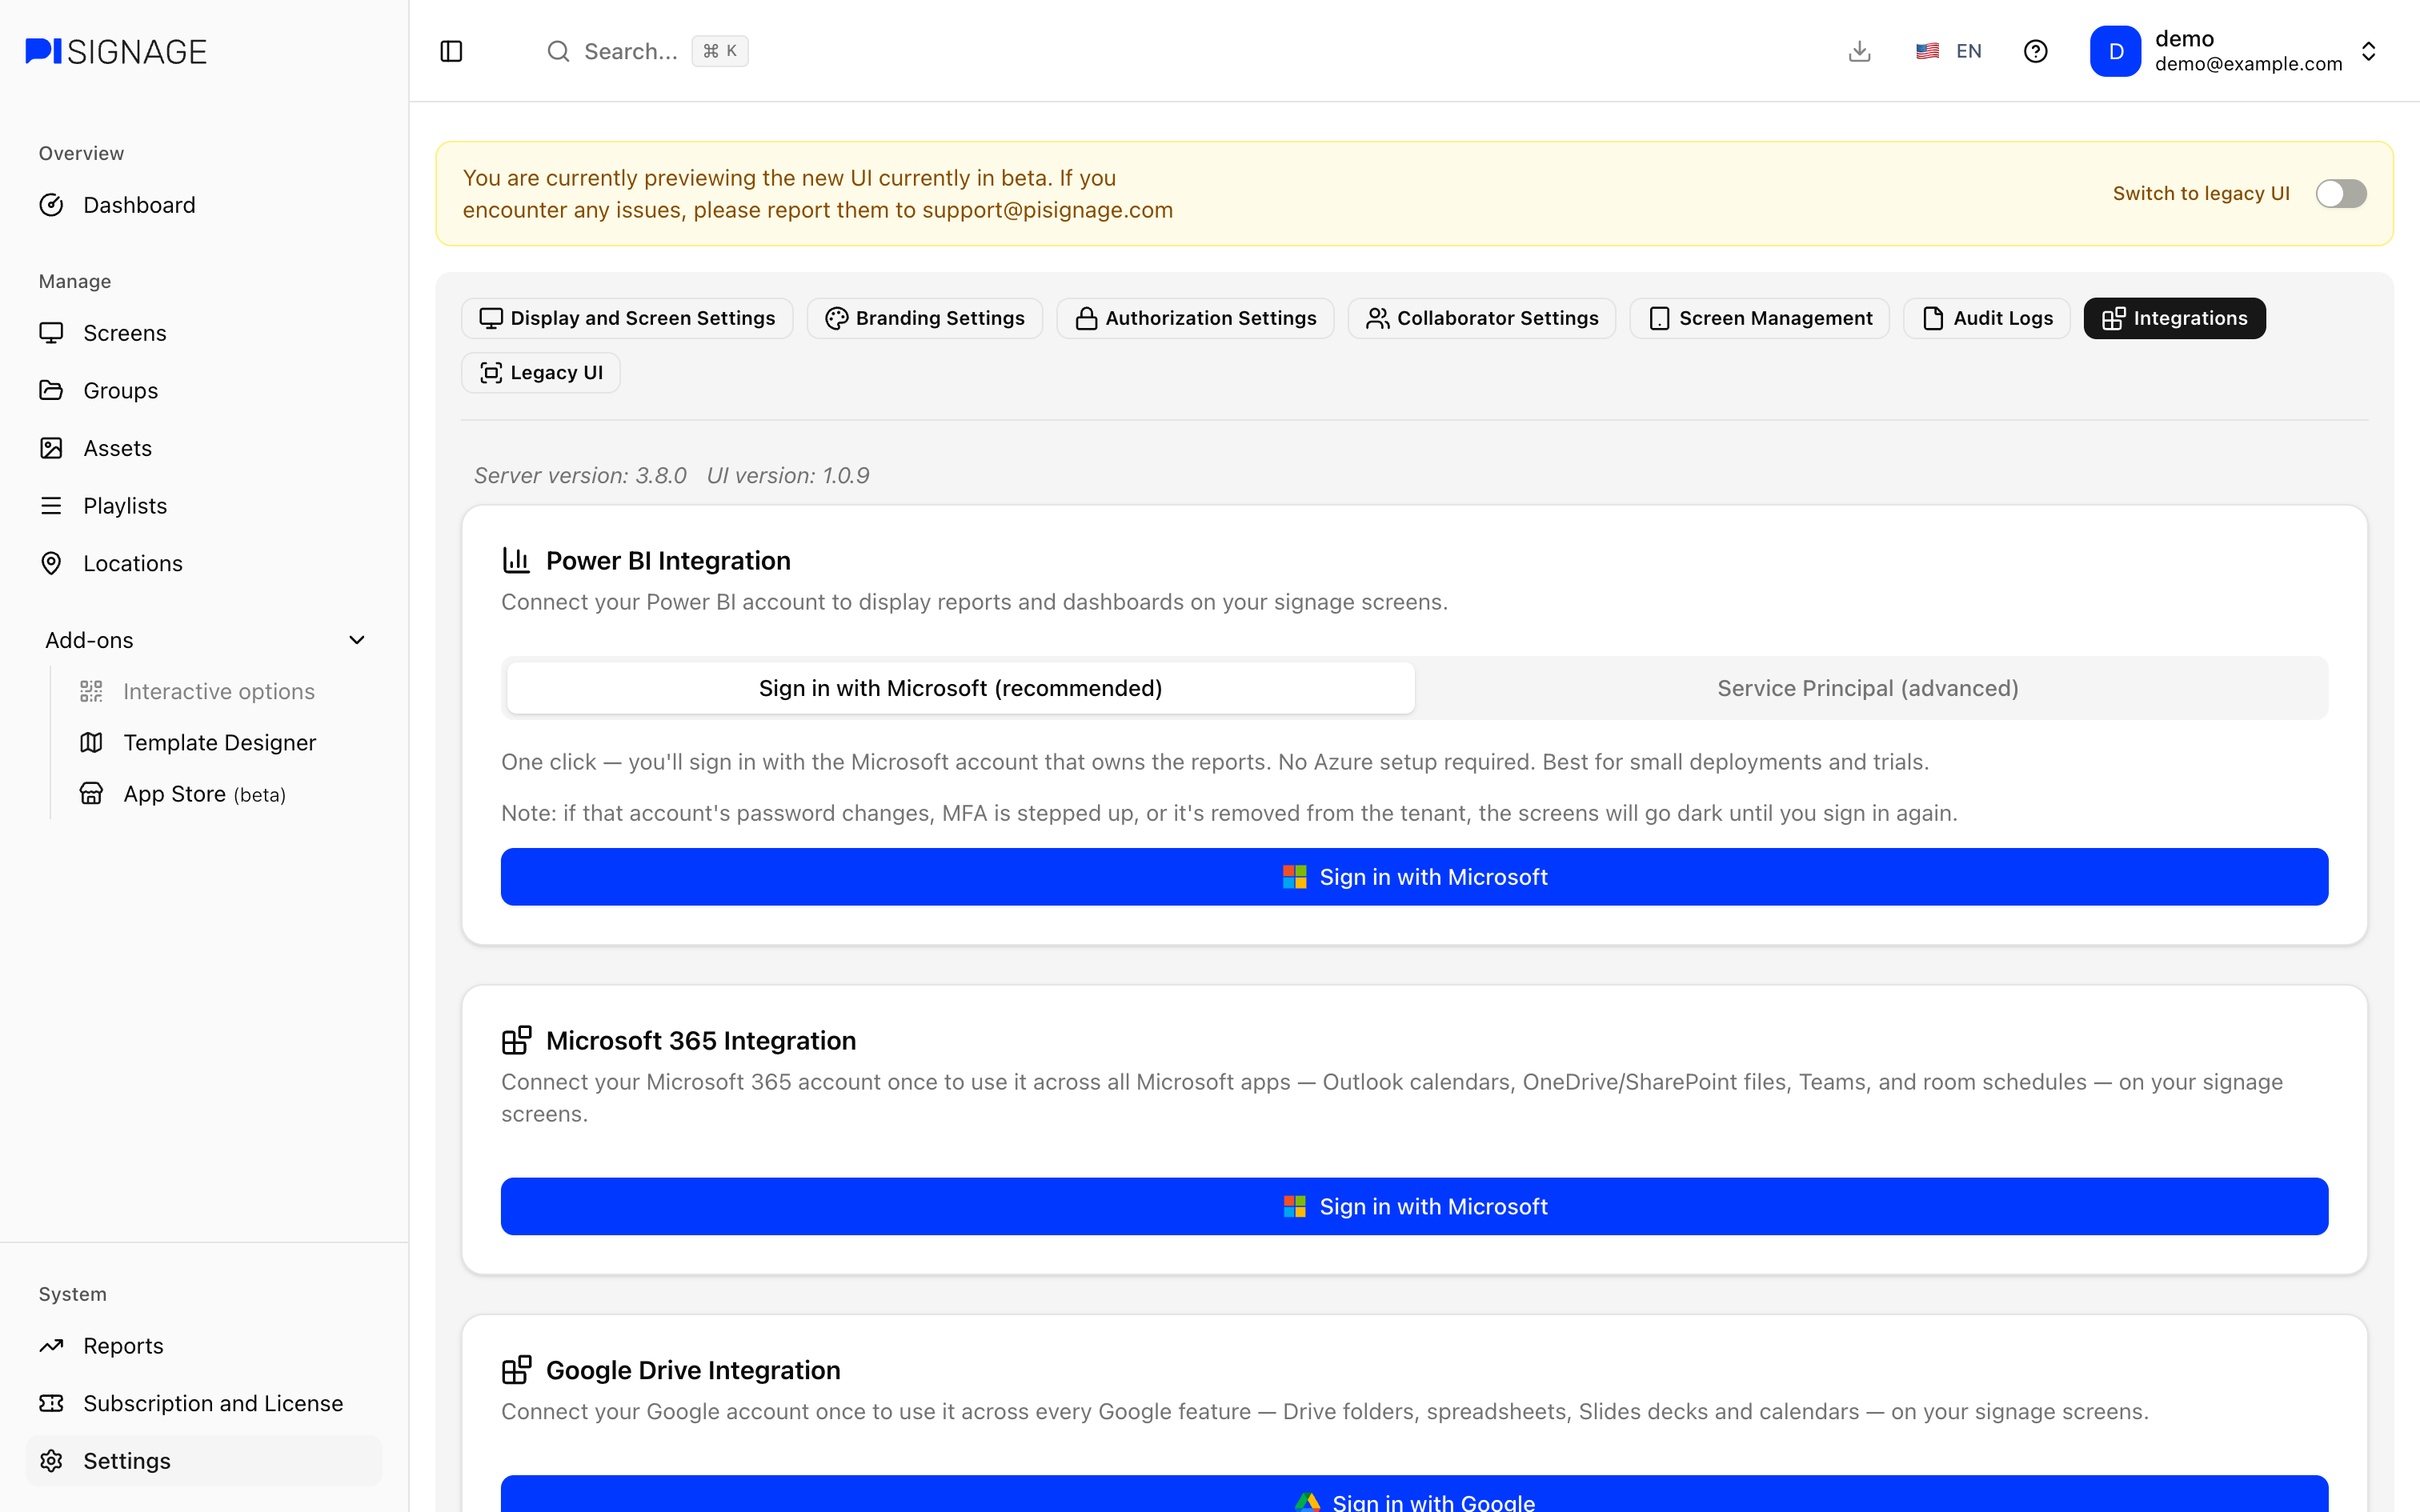
Integrations connect your accounts on other platforms to PiSignage so you can show their content on your screens.
Power BI Integration
Connect your Power BI account to display reports and dashboards on your screens. There are two ways to connect:
- Sign in with Microsoft (recommended): One click with the Microsoft account that owns the reports. No Azure setup required. Best for small deployments and trials.
- Service Principal (advanced): For unattended, production signage. Follow the setup steps on the page, enter the Directory (Tenant) ID, Application (Client) ID and Client Secret of your Entra app and click on Save.
If you sign in with Microsoft and the password of that account changes, MFA is stepped up or the account is removed from the tenant, the screens will go dark until you sign in again.
The Workspace ID and Report ID are entered when you add the Power BI asset. Assets covers the same.
Microsoft 365 Integration
Connect your Microsoft 365 account once to use it across Outlook calendars, OneDrive/SharePoint files, Teams and room schedules on your screens. You can add more than one account.
If you disconnect an account, the apps using it stop loading on your screens until you reconnect the same.
Google Drive Integration
Connect your Google account once to use it across Drive folders, spreadsheets, Slides decks and calendars on your screens. You can add more than one account.
If you disconnect an account, screens showing its files keep playing the copy they already have but stop picking up changes until you reconnect the same. Calendars stop updating.
Legacy UI
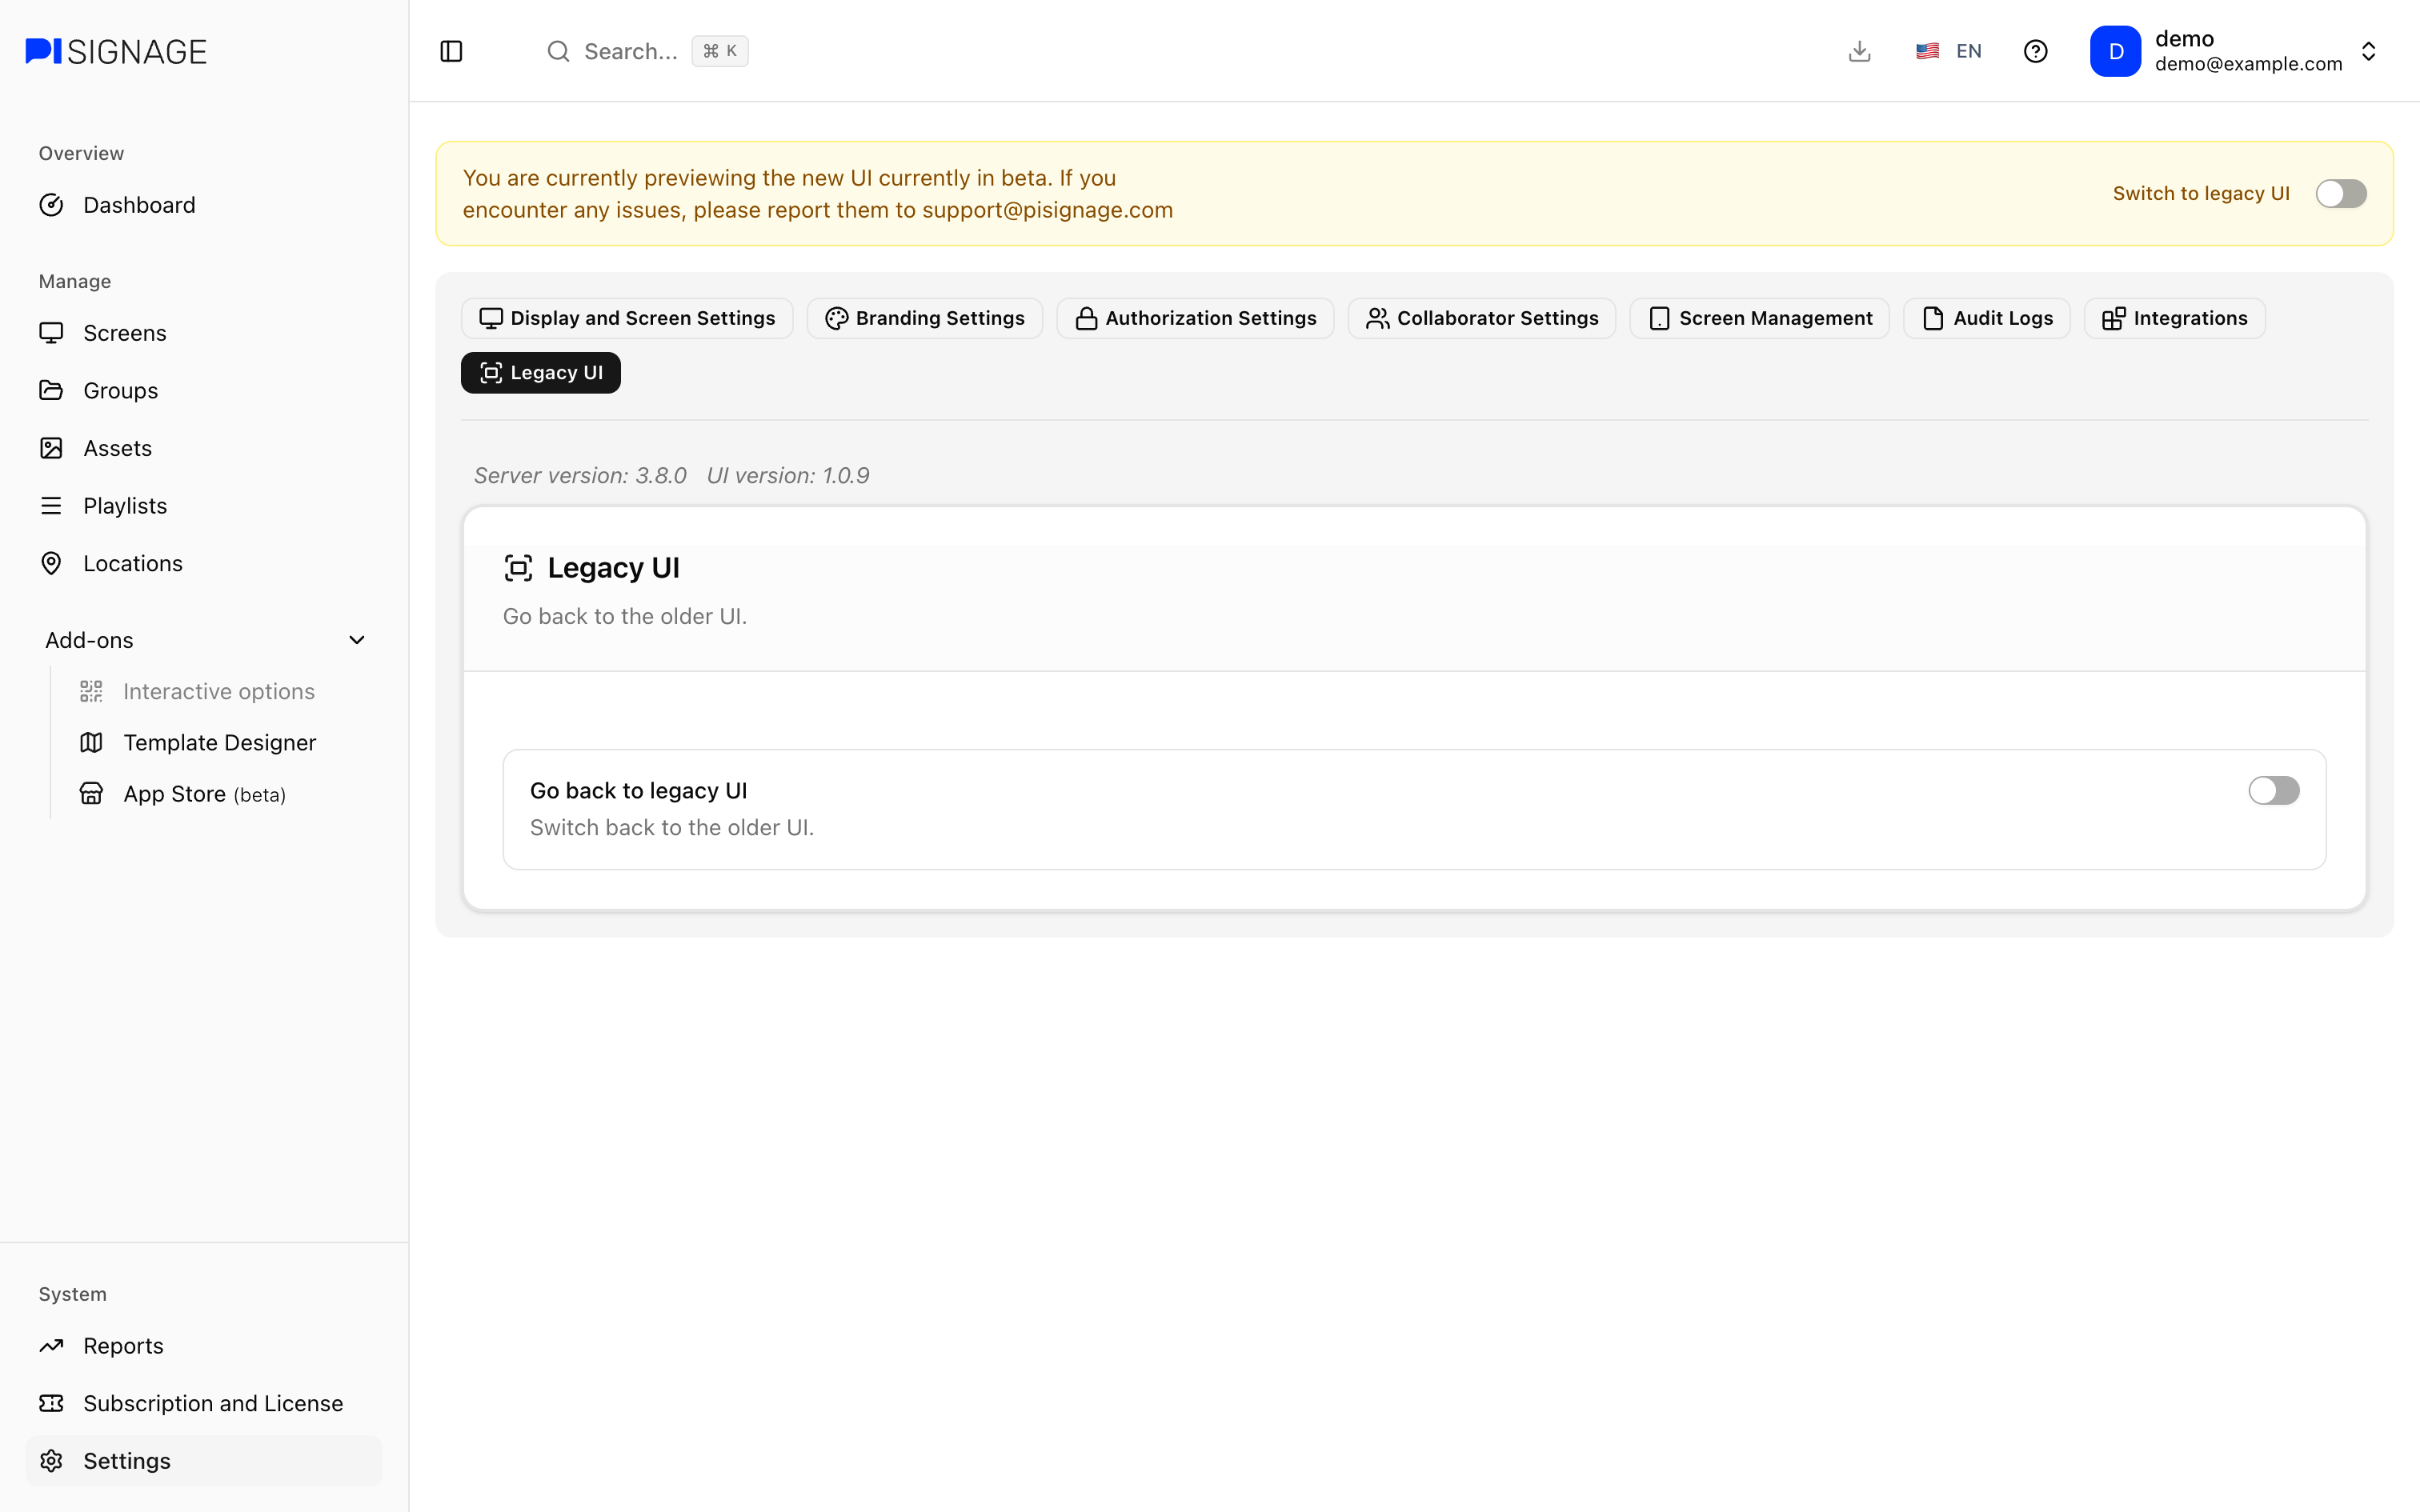
The new UI is currently in beta. If you encounter any issues, please report them to support@pisignage.com.
Prefer the older UI? Simply switch on Go back to legacy UI in the Legacy UI tab or use the Switch to legacy UI toggle in the yellow banner on top of the page.