Setting up your Amazon Signage Stick
Setting up the Signage Stick is a simple 3 step process. Connect it to your display and PiSignage to have content running in minutes. No technical expertise needed.
What you need
- An Amazon Signage Stick. You can order the Signage Stick here
- A display with an available HDMI input
- A separate plug-point to power the Signage Stick
- A password-protected WiFi connection
- The Amazon Signage mobile app (iOS or Android) on a mobile device with Bluetooth, or the included remote
Step 1 → Connect and boot up the Signage Stick
Plug in your Signage Stick, connect it to your display and boot it up.
Step 2 → Choose PiSignage from the CMS dropdown
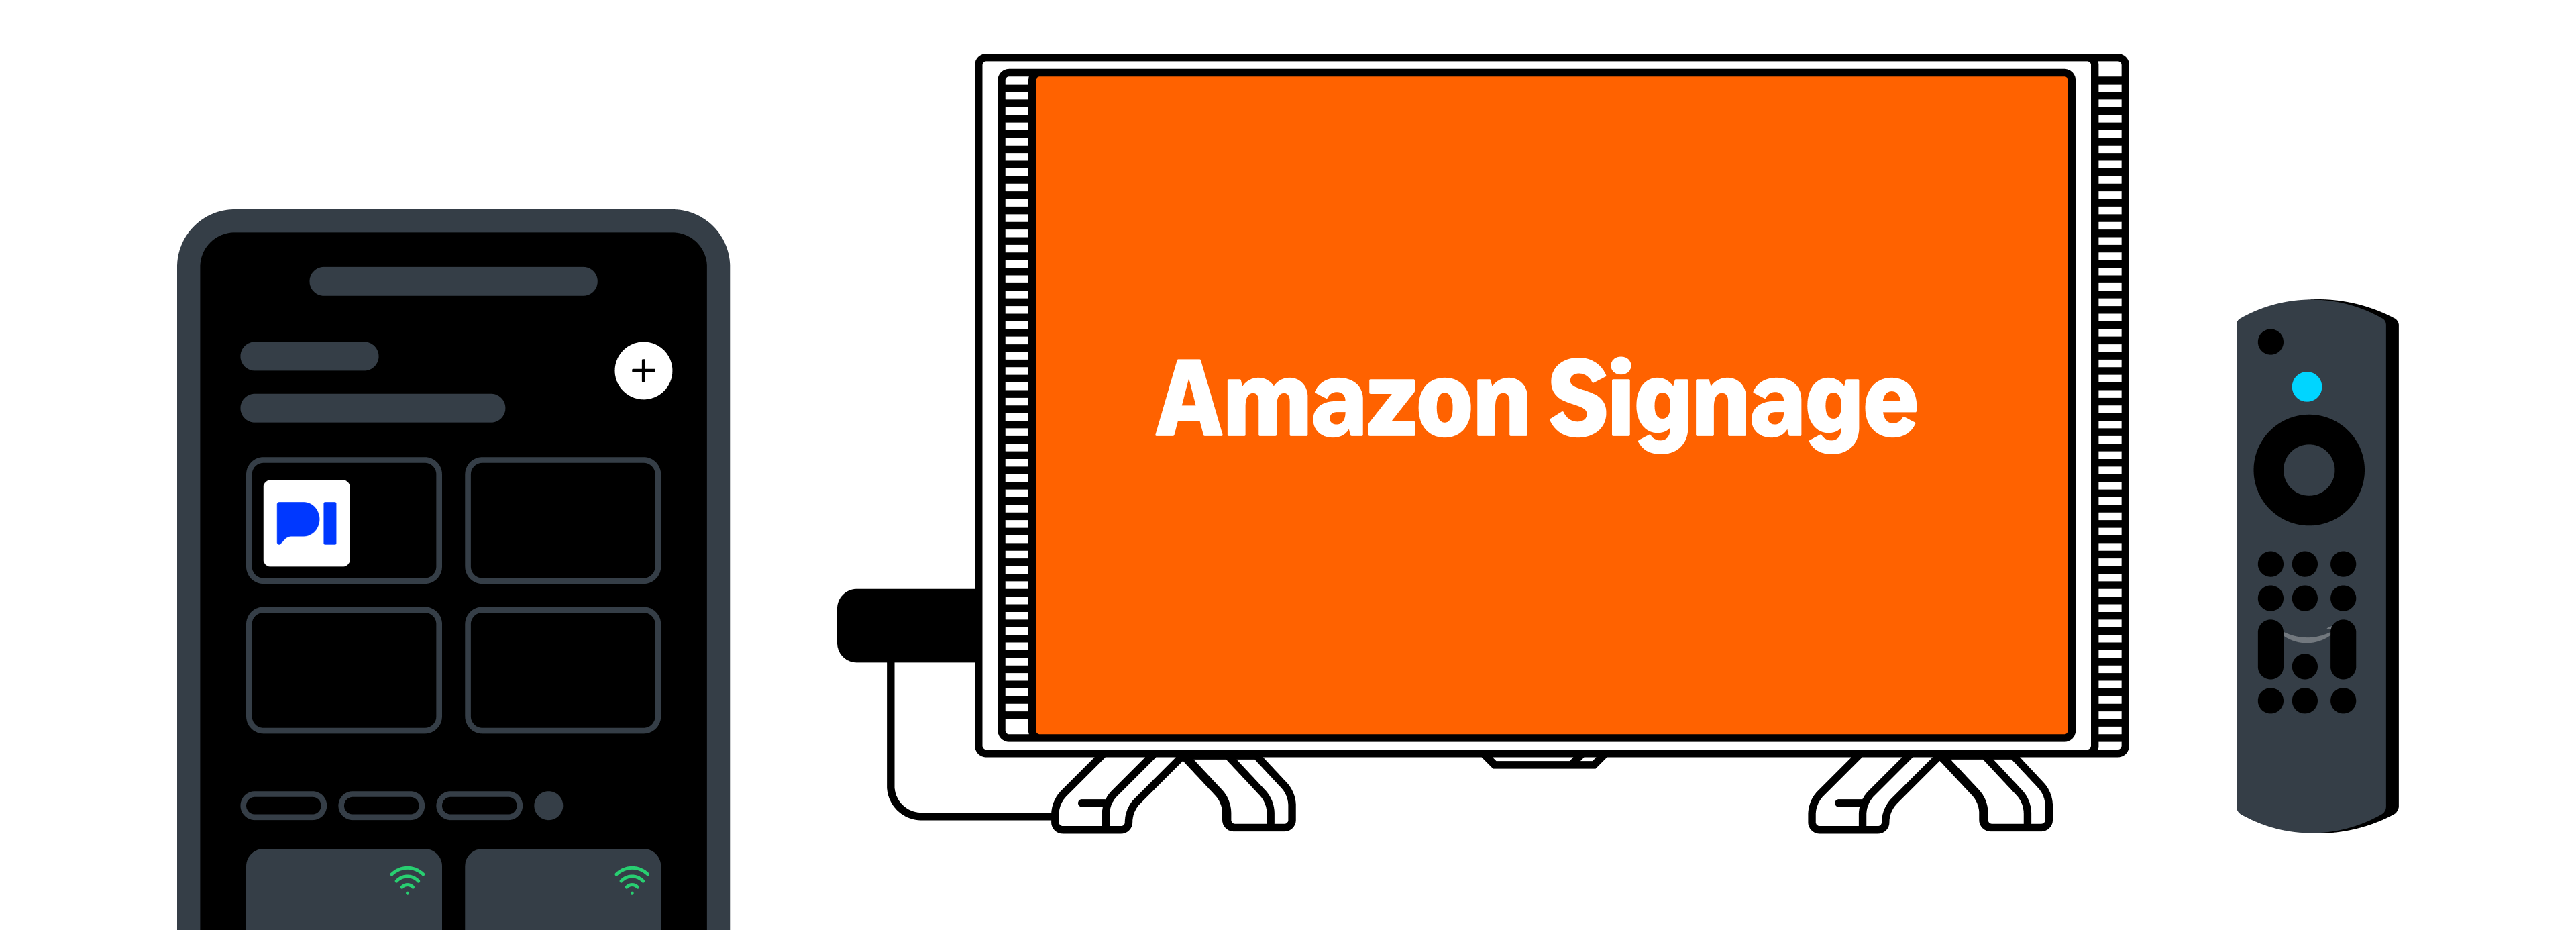 Using the Amazon Signage mobile app or the included remote, choose PiSignage from the CMS dropdown.
Copy the 16 digit number that appears on screen. You will need it to register your player.
Setting up multiple Signage Sticks? The Amazon Signage app lets you set up multiple Signage Sticks faster and easier - no remotes needed.
Step 3 → Register your player on PiSignage.com
- Go to Screens and click on + Add Screen in the top right
- Register the screen using the 16 digit number from step 2
- Choose a group to add the player to

Screens covers all of the details you can enter when registering a screen.
Amazon's setup instructions cover the Signage Stick itself in more detail.
To show content
- Add Assets
- Add your assets to a playlist
- Add your playlist to a group
- Deploy the group to see your content to a player
Want to learn more about the Signage Stick? Amazon Signage Stick covers what we love, technical specifications and our tips and tricks.