Documentslinux
Setting up your Linux Player
PiSignage runs on Linux desktops and laptops using our Player2, tested for current Debian and Ubuntu versions. Setting it up does need some technical knowledge as it is done via the terminal.
Important: Make sure video playback is supported in Chromium browser or VLC with hardware acceleration before choosing your Linux SBC.
What you need
- A Linux desktop, laptop or SBC (x86_64 or ARM64) with 2GB+ RAM
- Ubuntu 20.04+ or Debian 11+ with a desktop
- A working internet connection
Installing PiSignage
Our Custom Hardware setup guide has every command you need. It covers
- Preparing the OS - installing Debian/Ubuntu, setting up the user pi, the network and Chromium
- Installing the piSignage software - downloading the zip file and running the install script
- After the installation - adjusting your desktop settings such as the screen lock, screen saver, power management, screen dimming and notifications
Register your player
Once you have setup your player and see the 16-digit code on the screen, you are ready to register the same on PiSignage.
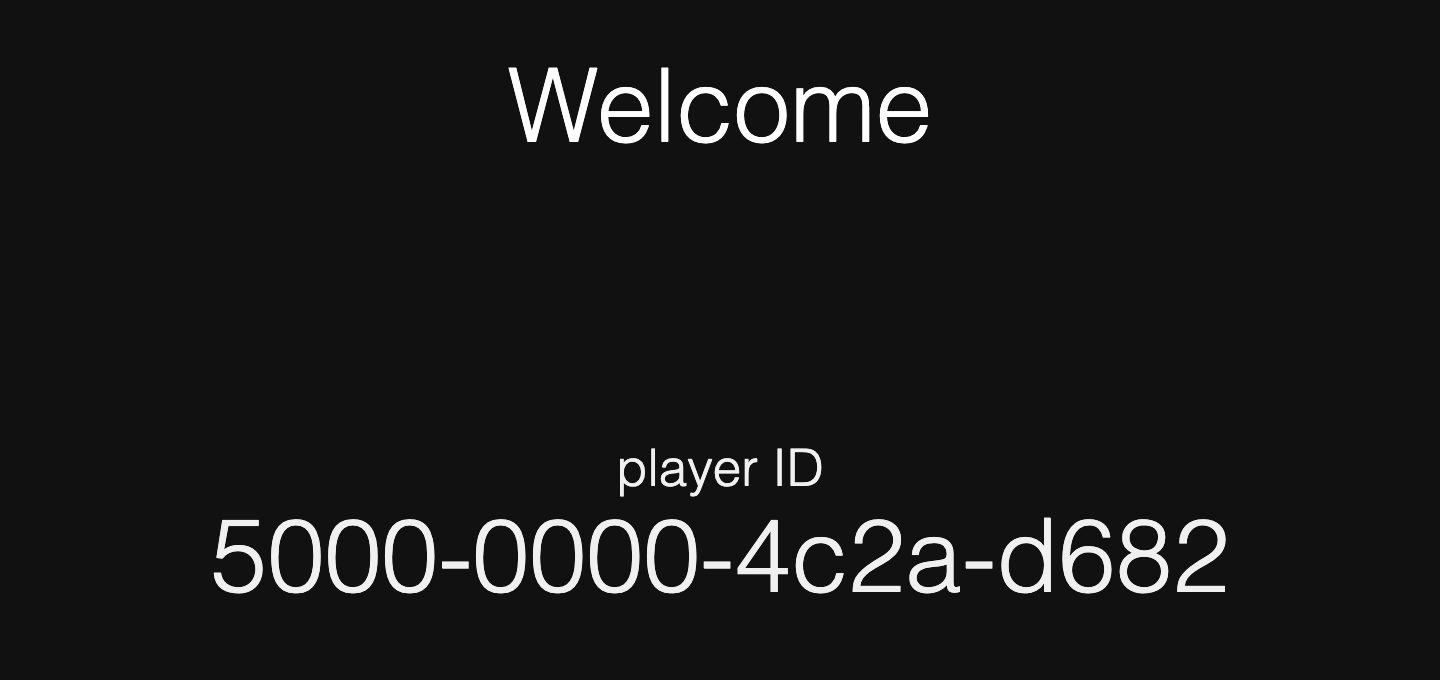
- Go to Screens and click on the + Add Screen button
- Enter the 16 digit code as the Screen ID and choose a Group to add the player to
Screens covers all of the details you can enter when registering a screen.
What next?
- Add Assets
- Add your assets to a playlist
- Add your playlist to a group
- Deploy the group to see your content to a player
If you need support for image generation for your hardware, please contact us (include your hardware type, OS details, and error log) at support@pisignage.com.